Table of Contents
- How Do You Pack a Rucksack for a Winter Hill Walk?
- What Changes Between Summer and Winter Packing?
- How Should Layers Be Arranged Inside the Pack?
- How Do You Keep Spare Layers Dry All Day?
- What Emergency Kit Belongs in a Winter Pack?
- How Do You Manage Water and Food in Freezing Conditions?
- How Should You Load the Pack for Icy or Snowy Ground?
- How Should a Winter Pack Be Repacked at a Summit Stop?
- What Should Be Checked Before Leaving the Car Park?
- What Should UK Buyers Specify for Winter Walking Packs?
- Frequently Asked Questions
How Do You Pack a Rucksack for a Winter Hill Walk?
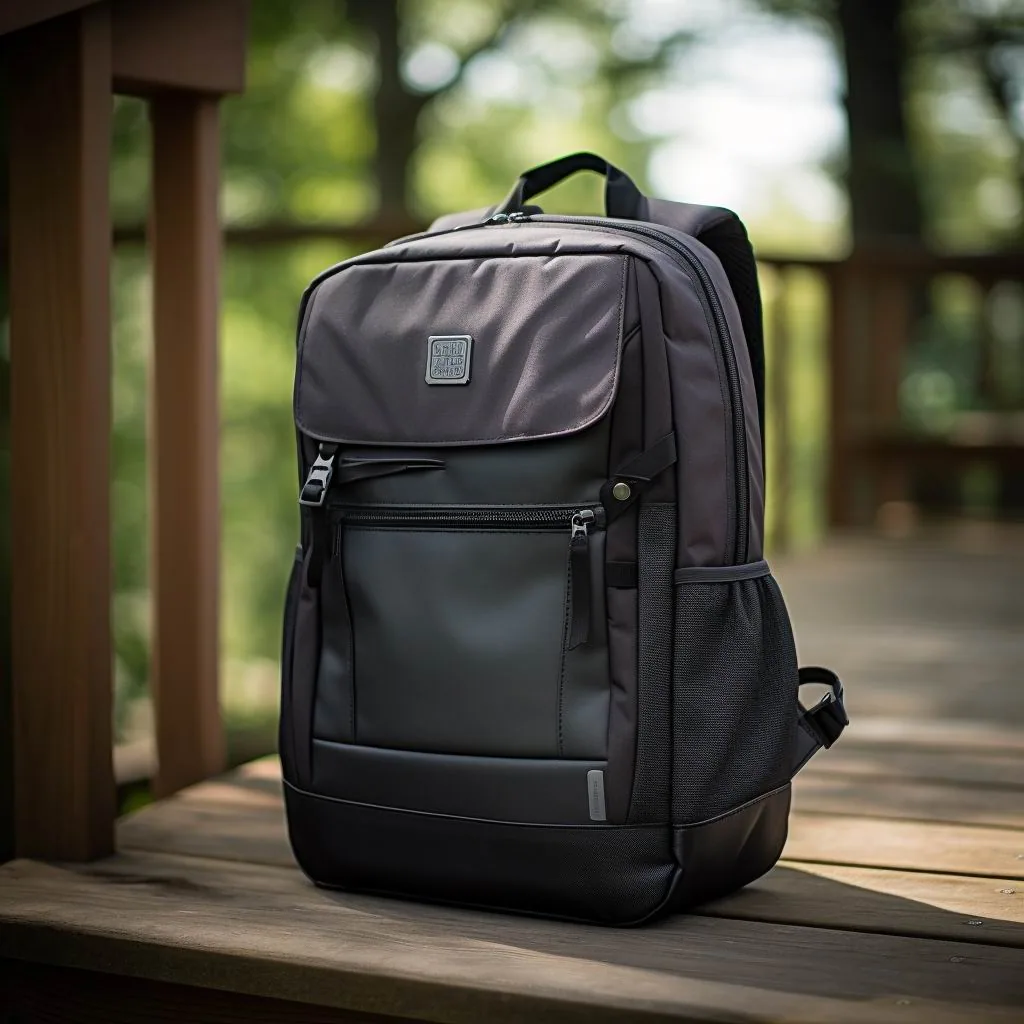
Pack for access rather than for volume: spare insulation and waterproofs in the top third or lid, food and water in hip belt or side pockets, emergency shelter and first aid within ten seconds of opening the main body, and heavy items such as a flask and crampons against your back between the shoulder blades. Add 1 kg of clothing you would not carry in summer, allow 25% more time than a summer route plan, and keep total load between 8 and 12 kg for a day in the British hills. Those three adjustments are what separate a winter packing list from a summer one, and they are worth writing down rather than remembering: extra insulation, slower timings and a tighter order of access. Pack the night before, weigh the finished bag, and put the emergency pouch in the same place every single time, because a bag packed in the dark at 06:30 in February will be repacked in the dark at 16:30 as well.
Weight rises in winter for reasons that are easy to underestimate. A insulated jacket adds 500 to 700 g, gloves and hat around 250 g, a flask of hot drink 700 g, spare baselayer 200 g, and a head torch with spare batteries another 300 g. Add wet-weather weight too: waterproof fabric absorbs up to 300 g of water on a sustained downpour, and by the afternoon everything you are carrying is heavier than when you started. Three rules govern a winter load: keep total carried weight between 8 and 12 kg, keep the centre of gravity within 100 mm of your spine, and keep everything needed in a squall reachable with the pack still on your back. Winter routes on British hills also run about 25% slower than their summer equivalents, so a plan built on summer timings leaves you descending in the dark with a torch you had not expected to use. Pack the night before, weigh the finished bag on bathroom scales, and write the turnaround time on the route card before you leave the house.
Access speed becomes a safety matter rather than a convenience. In December, usable daylight in the Lake District or the Cairngorms runs from roughly 08:00 to 16:00, and hypothermia becomes a realistic risk once core temperature drops 2°C below normal. Anything needed in a sudden squall — shell jacket, gloves, hat, map, torch — must come out without unpacking the bag, which is the principle behind every layout recommended in winter hiking backpack guides.
What Changes Between Summer and Winter Packing?
Four things change. You carry more, because insulation and emergency kit add 1 to 2 kg. You carry differently, because bulky soft items such as a down jacket fill volume rather than adding much mass. You need faster access, since weather changes within minutes at 700 m. And you carry liquids thermally, since a bottle of water freezes solid at altitude and a vacuum flask of sweet tea can genuinely help someone showing early signs of hypothermia.
Water is the item most people misjudge. In freezing conditions, a standard 1-litre bottle in an external pocket can freeze within two hours, leaving you unable to drink at all. Carry insulated bottles or a vacuum flask of 500 to 750 ml, keep bottles inside the pack near your back where residual warmth helps, and invert them so ice forms at the base rather than blocking the cap.
Then there is daylight. Plan routes around 8 hours of usable light and add 25% to any summer timing, because snow, ice and wind slow progress substantially — typical winter speeds on British hills are 2 to 3 km per hour against 4 to 5 km in summer. That arithmetic decides whether you need a head torch in the lid, and the answer is always yes, with spare cells kept warm in an inside pocket, a rule repeated throughout winter hill walking advice.
| Item | Summer weight | Winter weight | Where it goes |
|---|---|---|---|
| Insulated midlayer jacket | Not carried | 500 to 700 g | Top third, dry bag |
| Waterproof shell jacket | 320 g | 400 g when damp | Lid or external pocket |
| Gloves, hat, spare socks | 100 g | 250 to 350 g | Lid pocket, sealed |
| Vacuum flask, 500 ml | Not carried | 700 g full | Internal, against back |
| Head torch and spare cells | Not carried | 300 g | Lid, cells kept warm |
| Emergency bivvy or shelter | 200 g | 200 g | Top third, always |
| Crampons or microspikes | Not carried | 700 g to 1.2 kg | External, in a bag |
How Should Layers Be Arranged Inside the Pack?
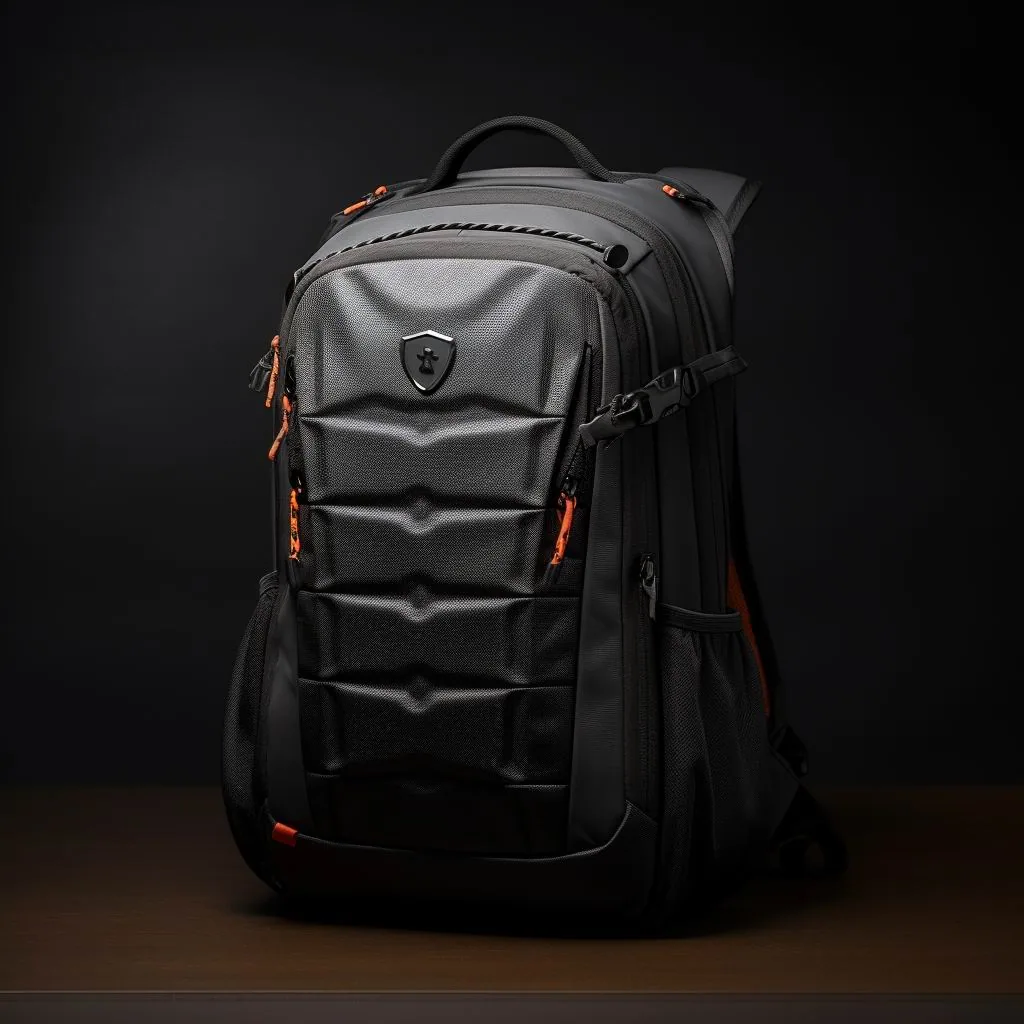
Zone the bag so the weather-dependent layer is closest to hand. Insulated jacket goes in the top third, rolled rather than folded and inside a 5-litre dry bag, because down or synthetic loft compresses better rolled and recovers faster. Underneath that sits food, then spare clothing, with the sleeping-bag-style bulk of anything else filling the base.
Keep a completely dry set sealed separately. Spare baselayer, socks and hat in one 3-litre dry bag, untouched until you stop, means you always have something dry to change into at the summit or the car. That discipline matters because wet clothing against skin in wind at 2°C removes heat roughly twenty-five times faster than dry still air, and most cold-weather incidents begin with getting damp and staying damp.
Pack heavy gear low and central. A 1.2 kg flask, crampons at 700 g to 1.2 kg and a packed lunch belong against your back between the shoulder blades, where they are closest to your centre of gravity. Anything heavy swinging in an external pocket changes balance on steep ground and makes slipping far more likely on icy paths where a fall has genuine consequences, which is why load position is stressed across winter hill walking advice.
How Do You Keep Spare Layers Dry All Day?
Treat the dry set as untouchable kit rather than as spare clothing. One 3-litre dry bag holding a baselayer, socks, hat and gloves should stay sealed from the car park until you stop, and it should be the only clothing you have not worn. Participants who dip into it for a quick extra layer on the climb arrive at the summit with damp reserves and no fallback, which is precisely the situation the bag exists to prevent.
Use two bags rather than one if the day is genuinely wet. A 5-litre bag for the insulated jacket, which comes out at every stop and goes back in slightly damp, and a separate 3-litre bag for the emergency set that never opens. Both should be roll-top closures with three folds minimum, since a single fold leaks under sustained rain, and both should be squeezed to expel air so they pack into the top third without wasted volume.
Dry the outer layer on the move whenever conditions allow. Waterproofs hung from a shoulder strap or laid across the lid dry surprisingly well in wind, even at 2°C, and shedding 200 g of absorbed water on a long climb is worth the small effort. Everything described here follows the layering method set out across winter backpack layering guides.
What Emergency Kit Belongs in a Winter Pack?
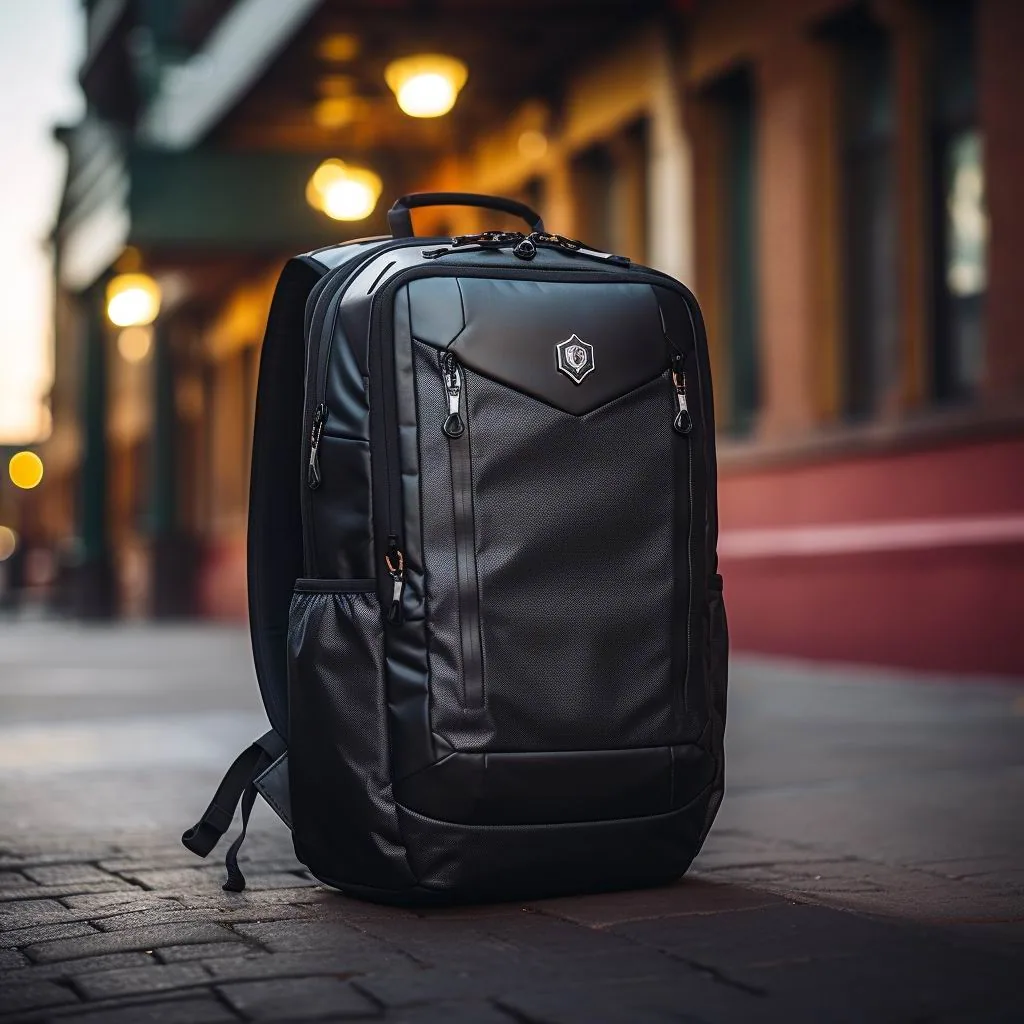
Build around five categories: shelter, warmth, light, navigation and communication. A group shelter or emergency bivvy at 200 to 400 g, spare insulated layer, head torch with spare cells, map and compass kept dry, and a charged phone in an internal pocket close to body heat. Anything that relies on batteries loses capacity quickly in cold: lithium cells lose roughly 20% of usable capacity at 0°C and more below that.
Add the small items that prevent most callouts. A whistle at 20 g, a foil blanket at 60 g, a small first aid kit at 300 g including a foil pad and blister plasters, a multi-tool with a blade, and spare hat and gloves — hands and head lose heat fastest and are the easiest to lose on a windy ridge. Keep them all in one 2-litre pouch so they move between bags without a checklist.
Food deserves inclusion as emergency kit rather than comfort. Carry 500 kcal more than you think you need, in a form that does not freeze solid: chocolate, nuts, cereal bars rather than gels, which become unmanageable below 5°C. A hot flask of sweet drink is genuinely therapeutic for someone showing mild hypothermia, so fill it at the last opportunity before leaving the car, and keep the whole emergency pouch where winter hill walking advice recommends: the top third, never the base.
How Do You Manage Water and Food in Freezing Conditions?
Insulate everything. A vacuum flask of 500 to 750 ml retains heat for six to eight hours and weighs roughly 700 g full; a standard bottle freezes. Carry both if the route is long: one insulated flask for hot drink and one soft bottle kept inside the pack, inverted, so any ice forms away from the cap. Avoid wide-mouth bottles in external pockets entirely in sub-zero conditions.
Food needs the same thought. Anything with high water content — apples, fresh sandwiches with salad, yoghurt — freezes and becomes unpleasant. Choose dense, dry, high-calorie items: nuts, chocolate, flapjack, dried fruit, pork pie, and a hot flask. Aim for around 3,000 kcal on a full winter day, which at 8 hours of walking means roughly 375 kcal per hour.
Then plan stopping deliberately. Eating and drinking in wind and cold is unpleasant, so people do less of it: dehydration and low blood sugar are behind a large share of winter hill incidents. Stop every 90 minutes in shelter, take 200 to 300 ml and eat something small each time, and put your insulated jacket on within two minutes of stopping, because heat loss accelerates sharply once you stop moving, and the stop rhythm set out in winter hill walking advice is worth printing on a card.
How Should You Load the Pack for Icy or Snowy Ground?
Balance matters more in winter because the margin for error shrinks. Keep the centre of gravity close to your spine and slightly high: heavy items against the back between the shoulder blades, nothing dense in external pockets, and side compression straps taken up so nothing shifts when you slip. A pack that moves independently of your body changes your balance at precisely the moment you need it most.
Strap sharp or rigid items externally but inside a bag. Crampons and microspikes weigh 700 g to 1.2 kg and will puncture anything they touch, so use a dedicated pouch costing £12 rather than letting them rattle against the shell fabric. Ice axes belong on dedicated loops with the spike covered, since an uncovered point is a genuine hazard to you and anyone behind you.
Adjust the harness for winter layers too. A shell jacket plus midlayer pushes your effective torso depth out by 25 to 35 mm, so straps set in September will be too tight in January. Slacken by roughly that much, check the hip belt still sits on the iliac crest above a bulky jacket, and re-tension everything after twenty minutes of walking, as advised in winter hiking harness setup.
How Should a Winter Pack Be Repacked at a Summit Stop?
Work fast and keep everything inside the bag. A summit stop in wind at 700 m is not the place to lay kit out on the ground: open the lid, take out what you need, and put the bag between your feet so nothing blows away. Insulated jacket comes out first and goes on within two minutes of stopping, because convective heat loss rises steeply the moment you stop generating warmth.
Then re-order rather than re-pack. The flask goes back against your back, food moves from the top third to a hip belt pocket for the descent, and anything wet stays outside in a strap rather than going back inside with dry kit. Do not undo the hip belt for a short stop; instead slacken it by 20 mm while you eat and re-tension it before setting off, which keeps the load path consistent across the day.
Finish with a head count of the five emergency categories before moving: shelter, warm layer, light, navigation and communication. Groups lose more kit on summit stops than anywhere else, and a missing map case discovered at 15:30 in February is a serious problem. The repacking sequence recommended in winter backpack layering guides takes under ninety seconds and is worth rehearsing on a low-level route first.
What Should Be Checked Before Leaving the Car Park?
Five checks, five minutes. Weather forecast including wind chill and freezing level, not just the summit temperature. Daylight window and route timings with 25% added. Phone charged above 80% and carried internally. Every participant carrying the five emergency categories. And one person holding a written route card left with someone at home or with the accommodation.
Then check the bag itself. Zips running cleanly and not iced, hip belt adjusted, sternum strap set, load lifters at 30 to 45 degrees, and nothing hanging loose that could catch. Confirm everyone has waterproofs accessible within ten seconds, and that at least one map and compass in the group is in a waterproof case rather than a phone, which is the most common single point of failure.
Finally, agree turning-around times before you start. Pick a time based on daylight rather than summit ambition — typically 14:00 in midwinter on British hills — and stick to it regardless of progress. Most serious winter incidents involve groups continuing past a sensible turnaround, and committing to the time in advance removes the argument at the moment it matters most, and every checklist inside winter hill walking advice starts with that figure.
What Should UK Buyers Specify for Winter Walking Packs?
Cold-weather performance is specifiable. Require fabrics that remain flexible below -10°C, since some PU coatings stiffen noticeably and crack when folded cold; buckles in acetyl rather than nylon, which becomes brittle in frost; and zips with large gloves-friendly pulls that work with numb fingers. Those three clauses add roughly £1.60 to £3.00 per unit and prevent most winter-specific complaints.
Agree the commercial terms before tooling. Standard practice is MOQ 500 pcs per colourway, sampling in 6-10 working days including a cold-chamber flex test at -10°C, bulk production 35-50 days, and inspection to AQL 2.5 (ISO 2859-1) using the tables published by ISO 2859-1. Water resistance should be tested against standards listed by BSI's British Standards catalogue or equivalent ISO methods, since sustained winter rain is a different challenge from summer showers.
Finish with the details that help walkers directly. Specify ice-axe loops and a dedicated crampon attachment point on winter models, glove-friendly zip pullers at least 25 mm long, hip belt pockets large enough for a 240 x 180 mm map, and reflective panels for the walk out in the dark. Our 4,950 m² SGS-verified production floor cold-tests every winter tooling rather than sampling occasionally, and our vetted partner facilities include a printed winter kit card with each unit, which is standard across UK winter hiking backpack supply.
Frequently Asked Questions
How much extra weight does winter hill walking add?
Roughly 1 to 2 kg. An insulated jacket adds 500 to 700 g, gloves and hat 250 g, a full 500 ml flask 700 g, spare baselayer 200 g and a head torch with cells 300 g. Waterproofs also absorb up to 300 g in sustained rain, so a summer 8 kg day becomes a 9 to 10 kg winter one.
What size rucksack suits a winter day in the British hills?
Around 32 to 45 litres, depending on whether crampons and a group shelter are carried. Anything below 30 litres forces external strapping, which shifts the load away from your spine. Look for ice-axe loops, a crampon attachment point and hip belt pockets that take a 240 x 180 mm map. A 35-litre model covers most Hill Walking days, with 45 litres when a group shelter and winter boots are carried.
How should water be carried to stop it freezing?
Use an insulated vacuum flask of 500 to 750 ml, which holds heat for six to eight hours, and keep any second bottle inside the pack near your back, inverted so ice forms away from the cap. Bottles in external pockets can freeze solid within about two hours below freezing. Two vessels total 1.5 litres on a full day, which weighs 1.5 kg before anything else goes in the bag.
Which part of a winter pack should hold the waterproofs?
In the lid or the top third, reachable within ten seconds without unpacking anything else. Weather on a British hill can change in minutes, and getting soaked at 2°C with wind removes heat extremely quickly. Shell jacket, gloves, hat and map should all be accessible with the pack still on your back. A lid pocket of at least 2 litres holds a shell jacket, gloves and hat together without crushing the loft.
What emergency kit is essential between November and March?
Shelter at 200 to 400 g, a spare insulated layer, head torch with spare cells kept warm, dry map and compass, charged phone carried internally, whistle, foil blanket and 300 g first aid kit. Lithium cells lose roughly 20% capacity at 0°C, so keep spares close to body heat. Keep the whole pouch under 800 g so it moves between bags without anyone needing to re-weigh the load.
How much food and drink does a winter day need?
Around 3,000 kcal and 2 litres of fluid, which works out at roughly 375 kcal per hour over eight hours. Choose dense dry foods such as nuts, chocolate, flapjack and pork pie rather than anything with high water content, which freezes. Carry 500 kcal more than you expect to need. Two litres of fluid weighs 2 kg, so decide honestly whether a mid-route refill is realistic before carrying it all.
Should crampons be carried inside or outside the pack?
Outside, but inside a dedicated pouch costing £12. Sharp points at 700 g to 1.2 kg will puncture shell fabric or injure whoever reaches into the bag. Strap the pouch to the lower outer face, away from the back panel, and cover ice-axe spikes with a rubber guard. A 900 g set strapped 150 mm from the spine changes balance far less than the same mass swinging in a side pocket.
How often should you stop to eat and drink in winter?
Every ninety minutes, in shelter, taking 200 to 300 ml and a small amount of food each time. People drink far less in cold weather precisely when dehydration impairs judgement, which is why deliberate scheduled stops work better than waiting to feel thirsty. Put insulation on within two minutes of stopping. Four scheduled stops across eight hours deliver roughly 1 litre, which is most of what a winter body loses.
What turning-around time should a winter walk use?
Base it on daylight rather than summit ambition, typically 14:00 in midwinter on British hills. Add 25% to any summer route timing because winter speeds run 2 to 3 km per hour against 4 to 5 km. Agree the time before leaving the car so nobody argues about it later. Usable light on British hills in December runs from about 08:00 to 16:00, which is eight hours of margin.
How should winter layers change the harness adjustment?
A shell plus midlayer pushes effective torso depth out by 25 to 35 mm, so straps set in summer will be too tight. Slacken by about that much, confirm the hip belt still sits on the iliac crest, and re-tension after twenty minutes of walking once everything has settled into place. Re-check after twenty minutes, since foam compresses by roughly 5 mm once the pack has settled under load.
What stops a packed lunch from freezing on a winter hill day?
Anything with high water content, such as salad or yoghurt, freezes solid below 0°C and becomes unpleasant. Choose dense dry foods instead and keep a flask of hot drink. Wrapping sandwiches in foil and carrying them against your back also helps, since residual body heat slows freezing considerably. A 500 ml flask of sweet tea at 90 °C stays drinkable for six hours and weighs about 700 g full.
What should be checked in the car park before starting?
Weather including wind chill and freezing level, daylight window with 25% added to timings, phone above 80% charge carried internally, every participant carrying the five emergency categories, and a written route card left with someone. Also confirm at least one waterproof map and compass in the group. Confirm the freezing level and wind chill, because 3 °C with 40 mph wind behaves like minus 5 °C on skin.
Is a 30-litre pack too small for winter walking?
Usually yes if you carry crampons, a group shelter and full winter layers, since everything then ends up strapped externally where it shifts your balance. Thirty-two to 45 litres handles a full winter day comfortably. Below 30 litres, choose only for short low-level routes in good conditions. A measured 30 litres of internal volume, not a label, is what matters before you decide it will cope.
What should UK buyers specify for winter hiking backpacks?
Require fabrics flexible below -10°C, acetyl rather than nylon buckles, glove-friendly zip pulls of at least 25 mm, ice-axe loops and crampon attachment points. Cold-chamber flex test every tooling. Terms are MOQ 500 pcs, sampling in 6-10 working days, bulk production 35-50 days and AQL 2.5 inspection. Ask for a spares allowance of 2% and GBP-priced quotes so a replacement batch matches the original colourway.
Get a Free Quote for Custom How to Pack a Rucksack for a Winter Hill Walk
Planning a branded programme? Our production team works to MOQ 500 pcs, 6-10 working day sampling and 35-50 day bulk lead times, with AQL 2.5 inspection to ISO 2859-1. Send your brief and we will return a costed quotation in 24-48 hours.
Mens Backpack Guide Editorial Team — Buying guides and sourcing notes for the UK men's backpack market, coordinated by QUANZHOU JUNYUAN BAGS. Commercial figures such as MOQ 500 pcs, 6-10 day sampling and 35-50 day production reflect published programme terms.