Sternum Straps and Hip Belts: Do They Actually Help?
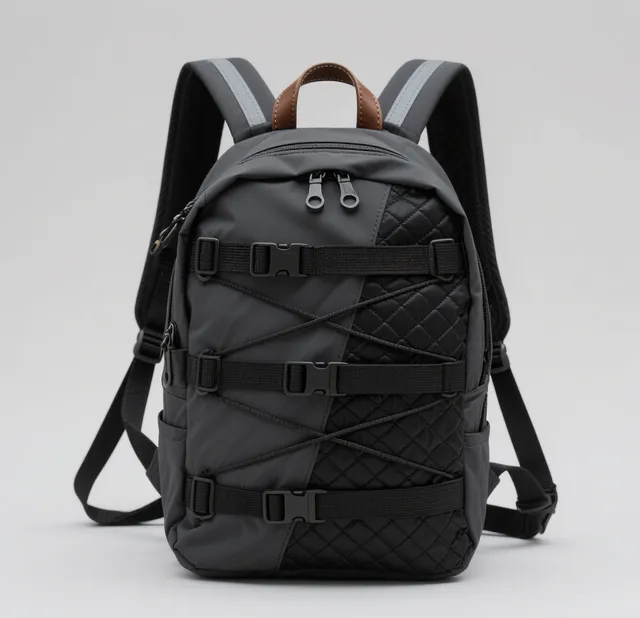
If you have ever finished a long hike with burning shoulders, a stiff neck, or aching hips, you probably blamed the weight of your pack. But the real culprit is often not what you are carrying — it is how the load distributes across your body. Two small accessories — the sternum strap and the hip belt — play an outsized role in controlling that distribution, and getting them right can transform how a backpack feels after mile ten.
This guide breaks down the science behind both features, explains the correct positioning, and helps you decide which combination suits your body, your pack weight, and the type of activity you have planned.
Why Load Distribution Matters More Than Pack Weight
The human body is not designed to carry weight evenly across the shoulders. The cervical and thoracic spine curve inward, and loading heavy straps on narrow shoulder points compresses soft tissue, restricts blood flow, and accelerates fatigue. Research published in the Journal of Occupational Rehabilitation found that improperly distributed loads increase trapezius muscle activity by up to 45 percent during sustained walking.
When you wear a backpack with only shoulder straps, nearly 100 percent of the pack weight sits on your upper body. Adding a sternum strap and a hip belt shifts significant portions of that weight to skeletal structures better equipped to handle it — the sternum and the pelvis.
The Sternum Strap: Small Part, Big Impact
A sternum strap is a horizontal webbing strap that connects the two shoulder straps across your chest. It looks simple, and in many ways it is — but its impact on comfort is anything but minor.
How Sternum Straps Reduce Shoulder Strain
The sternum strap works by preventing the shoulder straps from sliding outward toward the edges of your shoulders. Without it, straps migrate laterally as you walk, especially on uneven terrain. That migration concentrates pressure on the trapezius ridge and the acromioclavicular joint — two areas rich in nerve endings and poor in load-bearing capacity.
When properly adjusted, the sternum strap pulls the shoulder straps inward so they sit closer to the centre of your collarbone. This has three measurable effects:
- Reduces peak shoulder pressure by distributing force across the broader collarbone surface rather than a narrow point
- Limits strap movement so the load does not shift with each step, reducing the micro-adjustments your muscles make to stabilise
- Decreases shoulder strain by 30 to 40 percent according to biomechanical studies measuring electromyographic activity in the upper trapezius
Correct Positioning: One Inch Below the Collarbone
The most common mistake hikers make is positioning the sternum strap too high or too low. Both errors reduce effectiveness and can create new pressure points.
If the strap sits too high (above the collarbone), it presses against the base of your neck and can cause breathing restriction. If it sits too low (below the mid-chest), it fails to pull the shoulder straps effectively and can create uncomfortable pressure on the ribcage.
Most quality backpacks feature an adjustable sternum strap with a sliding buckle. To set it correctly:
- Put on the pack and tighten the shoulder straps to a comfortable snugness
- Slide the sternum strap up or down until it sits one inch below your collarbone
- Buckle and tighten until you feel gentle inward pressure on the shoulder straps — not constriction
- Take ten steps and readjust if the strap migrates or feels restrictive
When to Use and When to Skip the Sternum Strap
The sternum strap is most beneficial when carrying loads above 15 pounds. For lighter daypacks under 10 pounds, many hikers find the strap unnecessary and prefer the unrestricted feeling of going without.
Scenarios where the sternum strap is essential include multi-day hiking with 25-plus pound loads, trail running where strap bounce is a major issue, cycling where shoulder straps tend to slide off, and scrambling or off-trail movement where load stability is critical.
The Hip Belt: Your Body's Load-Bearing Foundation
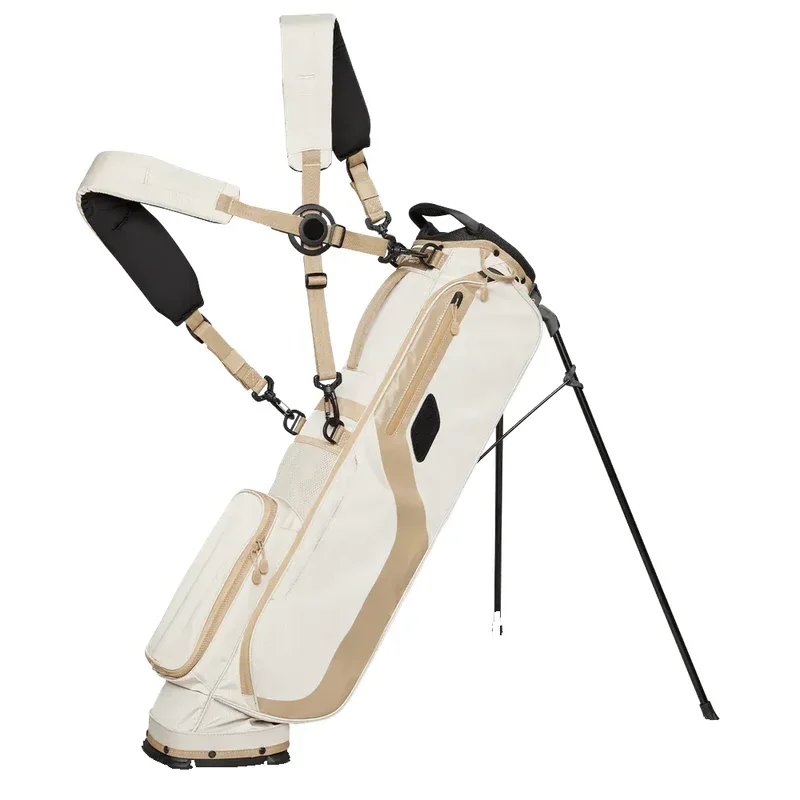
The hip belt is arguably the single most important ergonomic feature on any backpack designed to carry more than 20 pounds. Without a properly fitted hip belt, all of the pack weight rests on your shoulders, spine, and the muscles surrounding them. With one, you redirect the majority of that load to the strongest part of your body — your hips and legs.
Load Transfer Mechanics: Moving Up to 80 Percent to the Hips
The pelvis is a massive, ring-shaped bone structure designed to support the entire upper body during standing and walking. The iliac crest — the broad, curved upper edge of the pelvis — provides an ideal shelf for bearing weight. A well-designed hip belt wraps around this structure and transfers load from the shoulder straps, through the pack frame, down to the belt, and onto the iliac crest.
When fitted correctly, a padded hip belt can transfer up to 80 percent of the total pack weight to the hips. This means that with a 40-pound pack, your shoulders carry roughly 8 pounds while your hips carry 32. The difference is transformative — hikers routinely report that a properly loaded hip belt makes a 40-pound pack feel like 20.
The mechanics work as follows:
- Frame transfer: Internal or external frames channel force from the shoulder yoke down to the hip belt attachment points
- Belt wrap: The belt encircles the iliac crest, creating a 360-degree load-bearing surface
- Padding compression: High-density foam deforms to match the contour of the hip, increasing contact area and reducing peak pressure
- Leg drive: With weight on the hips, the legs — the body's strongest muscle groups — absorb the load during each step
Padding Types and Their Impact on Comfort
Not all hip belt padding is created equal. The type, density, and thickness of the foam directly affect comfort over long carries:
| Padding Type | Density | Comfort Duration | Weight | Best For |
|---|---|---|---|---|
| EVA foam (basic) | Low-medium | 2-4 hours | Light | Daypacks under 20 lbs |
| Memory foam | Medium-high | 4-8 hours | Medium | Multi-day hiking |
| Moulded PU foam | High | 8+ hours | Heavier | Heavy expedition loads |
| Dual-density (layered) | Variable | 8+ hours | Medium-heavy | All-day comfort & heavy loads |
| Heat-mouldable | Custom | All day | Varies | Custom fit enthusiasts |
Dual-density padding — a softer outer layer over a firmer inner core — has become the gold standard on premium backpacks. The soft layer conforms to your body shape, while the firm core prevents bottoming out under heavy loads. Brands like Gregory and Osprey use proprietary multi-density foams in their top-tier hip belts.
Sizing Your Hip Belt Correctly
A hip belt only works if it sits in the right place. Too high and it rides on your ribs. Too low and it slips onto your upper thighs, restricting stride. The belt should centre on your iliac crest — you can feel this by placing your hands on your hips and locating the highest, widest point of the hip bone.
Most manufacturers offer hip belts in size ranges, typically measured around the iliac crest, not at the waist:
- Small (S): 26-30 inches / 66-76 cm
- Medium (M): 28-33 inches / 71-84 cm
- Large (L): 32-38 inches / 81-97 cm
- Extra Large (XL): 36-42 inches / 91-107 cm
Removable vs Integrated Hip Belts
Hip belts come in two main configurations, each with trade-offs:
Integrated (Fixed) Hip Belts
These are built into the pack's frame and cannot be removed. They offer superior load transfer because the connection to the frame is rigid and permanent. Most dedicated hiking and mountaineering packs use integrated belts. The downside is added weight and less versatility — you cannot remove the belt for travel or lightweight use.
Removable / Detachable Hip Belts
These clip or buckle onto the pack frame and can be detached when not needed. They offer flexibility for hikers who use the same pack for both heavy and light trips. The trade-off is slightly less efficient load transfer because the attachment points are not as rigidly connected to the frame.
Some packs feature a hybrid approach: a removable webbing belt that can be swapped for a padded version on heavier trips. This is common on travel-oriented packs where you want a clean profile for airports but serious load-bearing capability on the trail.
Adjustable and Detachable Options: What to Look For
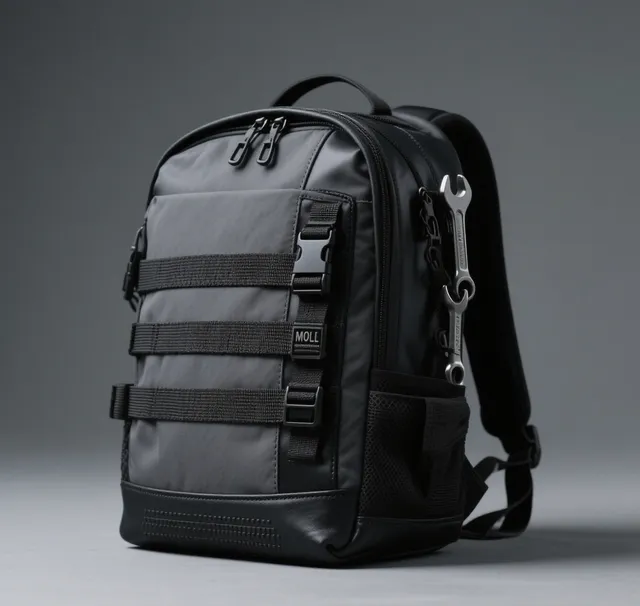
Modern backpacks increasingly feature adjustable, removable, and swappable strap systems. Here is what to consider when evaluating these options:
Sternum Strap Adjustability
Look for a sternum strap that slides vertically on the shoulder straps and has a quick-release buckle. Some premium packs offer dual-position sternum straps or elasticated sections that allow chest expansion during breathing. The Osprey Atmos and Gregory Baltoro both feature excellent adjustable sternum systems.
Hip Belt Adjustability
Beyond basic sizing, premium hip belts offer:
- Auto-angle buckles: Buckles that pivot to match the angle of your hips, reducing pressure points
- Adjustable pull tabs: Allow fine-tuning belt tension from the front without removing the pack
- Swappable belts: Some packs (notably certain Osprey and Deuter models) let you swap belt sizes without tools
Compatibility Issues to Watch For
Not all strap combinations play nicely together. Common compatibility issues include:
- Sternum strap interference with hydration tubes: If your pack has a hydration sleeve, ensure the sternum strap does not pinch the drinking tube. Most modern packs route the tube through a port above the strap, but check before buying.
- Hip belt pockets conflicting with the sternum strap: On shorter torsos, the belt pocket may sit so close to the sternum strap that both create a crowded chest area.
- Integrated hip belts limiting torso adjustment: Packs with fixed belts sometimes have less torso range. If you are between sizes, try the pack loaded before purchasing.
- Aftermarket hip belt add-ons: Some ultralight packs sell hip belts as add-ons. Verify that the attachment system is robust — flimsy clip-on belts can fail under heavy loads.
Backpack Categories: Which Ones Include These Features?
| Backpack Category | Sternum Strap | Hip Belt | Typical Load Range | Notes |
|---|---|---|---|---|
| Ultralight (under 30L) | Minimal or none | Optional / removable | Up to 15 lbs | Many omit both to save weight |
| Daypack (30-40L) | Yes, basic | Padded, sometimes removable | 15-25 lbs | Sternum strap standard; belt varies by model |
| Multi-day hiking (40-65L) | Yes, adjustable | Yes, integrated & padded | 25-45 lbs | Both features essential at this capacity |
| Expedition (65L+) | Yes, reinforced | Yes, heavy-duty integrated | 45-70+ lbs | Maximum load transfer is the priority |
| Travel / commuter (20-35L) | Often included | Minimal or hidden | 10-25 lbs | Designed for carry-on use; clean profile prioritised |
| Tactical / military | Yes, heavy-duty | Yes, MOLLE-compatible | 40-80+ lbs | Maximum load transfer; modular attachment |
The Complete Fitting Guide: Step by Step
Proper fitting is a sequential process. Each step builds on the previous one, so follow this order every time you load up:
- Loosen all straps: Start with the shoulder straps, hip belt, sternum strap, and load lifter straps all fully loosened.
- Position the hip belt first: Put the pack on and buckle the hip belt so it centres on your iliac crest. Tighten firmly — the belt should be snug enough that you can feel the pack weight shift to your hips.
- Tighten the shoulder straps: Pull the shoulder straps down and forward until they wrap snugly over your shoulders without gaps. The strap attachment points on the pack should sit 2 to 3 inches below the top of your shoulder.
- Adjust load lifter straps: These connect the top of the shoulder straps to the pack frame. Pull them forward at a 45-degree angle until the load feels close to your back. The angle should be between 30 and 60 degrees.
- Position the sternum strap: Slide it to one inch below your collarbone, buckle, and tighten until you feel gentle inward pressure on the shoulder straps.
- Walk for five minutes: Take a short walk with the fully loaded pack. Pay attention to any pressure points, sliding, or restriction. Readjust as needed.
- Fine-tune: After five minutes of walking, you will know if the hip belt needs tightening, the shoulder straps need easing, or the sternum strap is too tight.
The 80/20 Rule of Backpack Fitting
A properly fitted pack should have approximately 80 percent of its weight on your hips and 20 percent on your shoulders. If you remove the hip belt and the pack still feels comfortable on your shoulders, the hip belt is not doing its job — tighten it more. If your shoulders bear most of the weight even with the belt tightened, the pack's torso length may be wrong for your body.
Common Mistakes That Undermine Sternum Straps and Hip Belts
Even with the right equipment, fitting errors can negate the benefits. Here are the most common mistakes:
- Tightening the shoulder straps first: This sets the pack too high and prevents the hip belt from sitting on the iliac crest. Always start with the hip belt.
- Leaving the sternum strap too loose: A dangling sternum strap does nothing. It needs to be tight enough to pull the shoulder straps inward.
- Wearing the hip belt over a jacket: Thick outerwear compresses under load, causing the belt to loosen mid-hike. Wear the belt against your base layer or against thin clothing.
- Ignoring torso length: A pack designed for a 20-inch torso on a person with a 16-inch torso will never fit correctly, regardless of strap adjustments.
- Not readjusting during the day: Straps stretch and clothing compresses over hours of movement. Check your fit every few hours.
Should You Upgrade Your Pack's Strap System?
If you carry loads above 20 pounds regularly, the answer is almost certainly yes. Packs with quality sternum straps and hip belts are not significantly more expensive than those without, but they dramatically improve comfort and reduce injury risk.
For those who already own a pack without these features, aftermarket hip belts and sternum straps exist, but their effectiveness depends heavily on the pack's frame design. Framed packs accept aftermarket belts better than frameless ones because the rigid frame provides a solid anchor point for the belt attachment. Frameless ultralight packs, by contrast, lack the structural foundation needed to transfer load efficiently through an aftermarket belt, and adding one can actually create new pressure points where the belt attachment pulls against unsupported fabric. If you are considering an upgrade rather than an aftermarket fix, look at packs from Osprey, Gregory, or Deuter — all three brands have industry-leading suspension systems designed from the ground up to integrate load-bearing accessories seamlessly into the pack architecture.
Our guides to the best ergonomic backpacks for back pain and best backpacks for heavy loads include detailed reviews of packs with top-tier strap systems.
Frequently Asked Questions
Do I really need a sternum strap on a daypack?
For daypacks carrying under 10 pounds, a sternum strap is optional. Above 15 pounds, it significantly reduces shoulder fatigue. For activities like trail running or scrambling where the pack bounces, even lighter loads benefit from the stabilisation a sternum strap provides.
How tight should a hip belt be?
The hip belt should be tight enough that you can feel the majority of the pack weight transfer from your shoulders to your hips. You should be able to fit a flat hand between the belt and your body, but no more. After 30 minutes of walking, recheck the tightness as padding compresses.
Can a hip belt cause hip pain?
If positioned incorrectly (too low on the thighs), a hip belt can restrict your stride and cause hip flexor strain. If positioned on the iliac crest as designed, it should not cause pain. Persistent pain usually indicates incorrect sizing or positioning.
Are removable hip belts as good as integrated ones?
Removable hip belts are slightly less efficient at load transfer because their attachment points are not as rigidly connected to the frame. For loads under 30 pounds, the difference is minimal. Above 40 pounds, an integrated belt provides noticeably better performance.
What is the correct height for a sternum strap?
Position the sternum strap approximately one inch (2.5 cm) below the bottom of your collarbone. This height optimises the inward pull on the shoulder straps without compressing your throat or restricting breathing.
Do women need different sternum strap and hip belt designs?
Yes. Women-specific packs typically feature sternum straps routed around the bust area and contoured hip belts shaped for a narrower pelvis. The hip belt on women's packs also tends to have a shorter wrap length and different padding distribution. Always try women-specific models if you are shopping for a female user.
How do I measure my hips for a hip belt?
Use a flexible measuring tape around the widest part of your iliac crest — the top edge of your hip bone. This is typically 2 to 3 inches below your natural waist. Do not measure at your waist, as this will give you a measurement that is too small.
Continue Your Ergonomics Deep Dive
Load-bearing accessories are just one piece of the comfort puzzle. Explore our other guides to find the right pack and setup for your body.