How to Waterproof a Backpack: 5 Methods Compared
Your backpack was waterproof last season. Now water seeps through the seams during your morning commute, and that drizzle on the train leaves a damp patch around your laptop. Sound familiar? Backpack waterproofing is not permanent. The coatings degrade, the seam tape lifts, and the DWR treatment fades with use and UV exposure. The good news is that restoring waterproof protection is usually straightforward, affordable, and something you can do at home in an afternoon.
This guide walks through the five most effective methods for waterproofing a backpack, comparing their effectiveness, durability, cost, and suitability for different pack types. Whether you are maintaining a premium hiking pack from The North Face or trying to save a budget commuter bag, there is a method here that fits your situation.
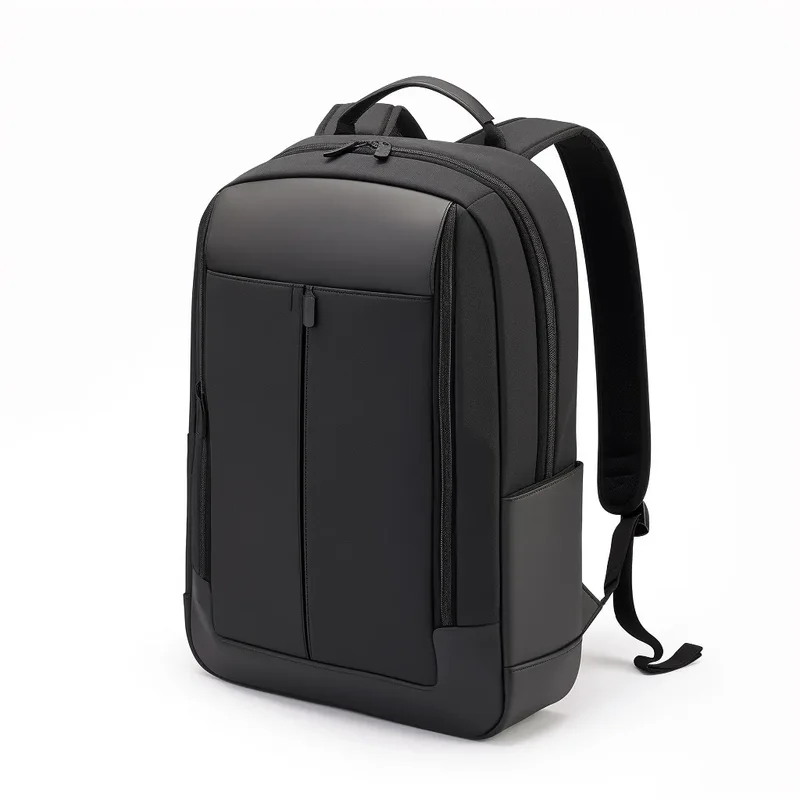
Method 1: DWR Spray Treatment
Durable Water Repellent (DWR) spray is the simplest and most accessible waterproofing method. These aerosol or pump sprays deposit a thin hydrophobic coating on the outer surface of the fabric that causes water to bead up and roll off rather than soaking in. DWR does not make fabric truly waterproof, but it dramatically improves water resistance and keeps the fabric from becoming saturated.
How to Apply DWR Spray
Step 1: Clean the backpack thoroughly with a technical cleaner like Nikwax Tech Wash. Regular laundry detergent leaves residue that blocks DWR absorption. Rinse completely and allow the bag to air dry.
Step 2: Shake the can well and hold it 15 to 20 centimetres from the fabric surface. Spray in slow, even passes to achieve uniform coverage. Pay extra attention to high-wear areas like the bottom panel, shoulder strap attachment points, and zipper flaps.
Step 3: Allow the treatment to cure for the time specified on the product label, typically 2 to 6 hours. Some products benefit from heat activation using a tumble dryer on low heat or an iron on a low setting with a cloth barrier.
Pros and Cons of DWR Spray
| Advantages | Limitations |
|---|---|
| Quick and easy application | Temporary, lasts 20-30 days of regular use |
| Inexpensive (10-15 per bottle) | Does not seal seams or zippers |
| Works on all fabric types | Requires reapplication frequently |
| Preserves fabric breathability | Only repels water, does not block it under pressure |
| Available everywhere | Not suitable for submersion scenarios |
Best Products for DWR Treatment
Nikwax TX.Direct Spray-On is the gold standard for technical nylon and polyester packs. Grangers XT Waterproofer offers comparable performance at a lower price point. For canvas backpacks, Otter Wax Fabric Wax provides a more penetrating treatment that lasts significantly longer than aerosol sprays, though it does darken the fabric noticeably.
Method 2: Seam Sealing
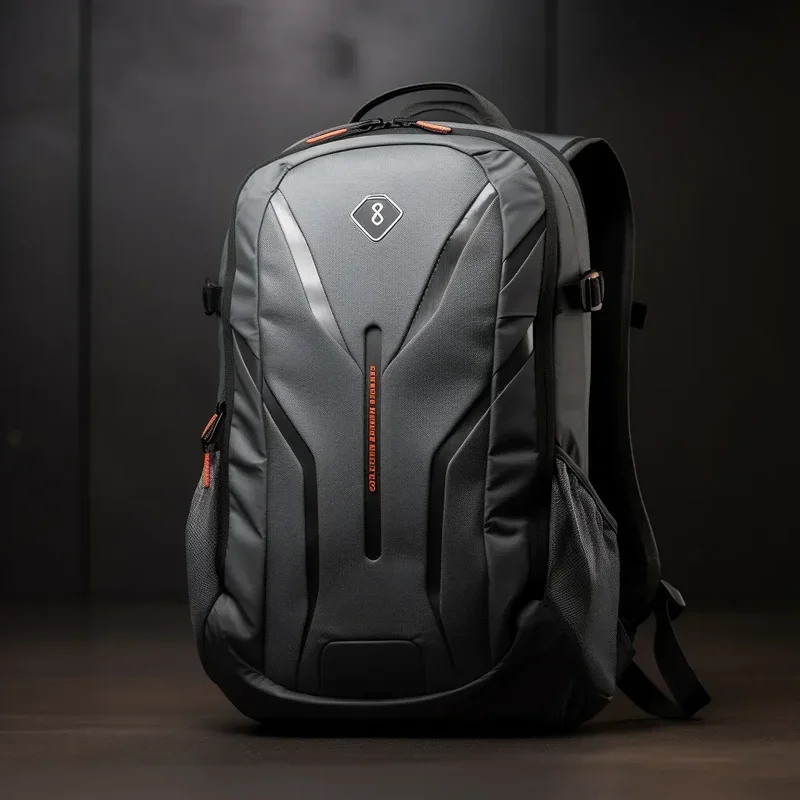
Every stitch creates tiny holes in the fabric where water can penetrate. Seam sealing fills these holes with a flexible, waterproof compound that bonds to the fabric and thread. This method addresses one of the most common failure points in any backpack and is essential if you notice water entering along the stitch lines.
How to Apply Seam Sealer
Step 1: Turn the backpack inside out or access the interior seam areas. Clean the seam areas with isopropyl alcohol to remove dirt, oils, and old seam tape residue. Allow to dry completely.
Step 2: If old seam tape is lifting, remove it carefully with a heat gun or hair dryer and clean the underlying surface.
Step 3: Apply the seam sealer (Gear Aid Seam Grip WP or McNett SilNet) along the entire length of each seam using the applicator brush. Coat both the stitching and the adjacent fabric by at least 3mm on each side.
Step 4: Allow the sealer to cure fully, typically 24 to 48 hours. Do not use the backpack during this period, as any flexing will compromise the fresh seal.
Pro Tip: For silnylon packs, use McNett SilNet which is specifically formulated for silicone-treated fabrics. For polyurethane-coated packs, Gear Aid Seam Grip WP provides the strongest bond. Using the wrong type of sealer for your fabric can result in poor adhesion and failure within days.
Seam Sealing Effectiveness
| Advantages | Limitations |
|---|---|
| Addresses the primary leak point | Does not treat the fabric surface |
| Long-lasting (full season or more) | Time-consuming application process |
| Inexpensive per application | Requires careful, thorough application |
| Can be combined with any other method | Must access interior seams (difficult on some packs) |
Method 3: Waterproof Liner or Pack Liner
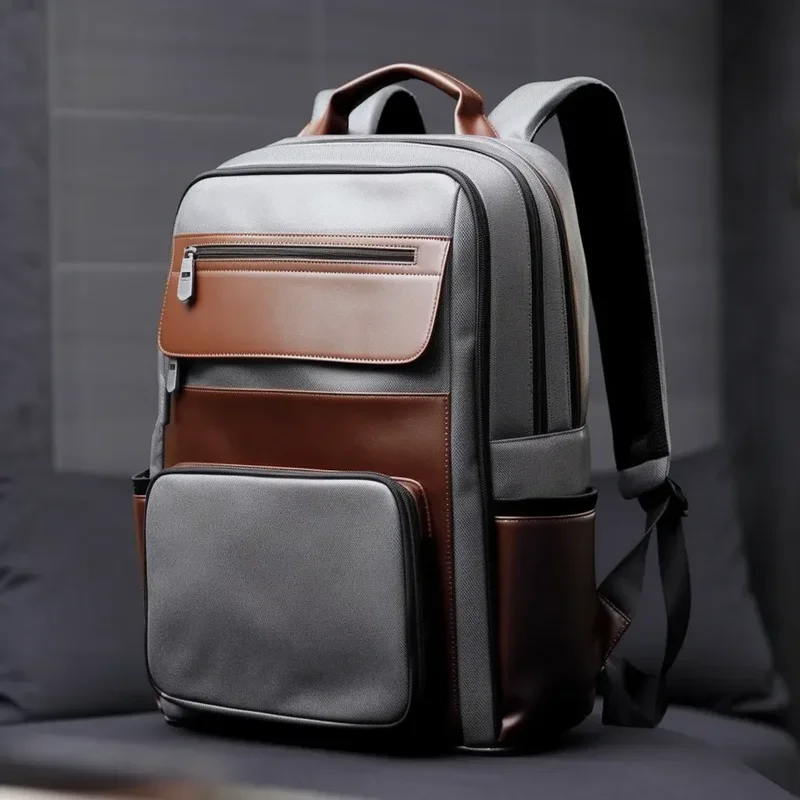
Instead of treating the backpack itself, a pack liner creates a waterproof barrier between your contents and the bag interior. This approach is popular among ultralight hikers because it separates content protection from pack protection, allowing you to use a lighter, less expensive pack while still keeping gear dry.
Types of Pack Liners
Compactor bags: The simplest and cheapest option. A heavy-duty trash compactor bag placed inside your pack creates an effective waterproof barrier. They weigh almost nothing, cost less than a pound each, and can be replaced after every trip. The limitation is that they only protect the main compartment and offer zero protection for external pockets.
dedicated pack liners: Brands like Sea to Summit, Ultra-Sil, and Ortlieb make purpose-built pack liners from ultra-thin waterproof fabrics. These are more durable than compactor bags and feature a roll-top closure that makes accessing contents easier. Expect to pay between 15 and 35 for a quality pack liner that lasts multiple seasons.
Dry bags as liners: Using a dry bag inside your backpack is the most robust liner option. Brands like SealLine and Ortlieb make dry bags specifically sized to fit inside popular backpack models. This approach gives you waterproofing at two levels: the dry bag protects your contents, and the backpack itself handles external wear and tear.
When to Choose a Liner Approach
A pack liner is the best choice when: you already have a backpack you love and do not want to replace it, you primarily need content protection rather than exterior waterproofing, you prefer an ultralight approach and want to avoid heavy waterproof coatings, or you are preparing for activities where complete submersion is possible and the backpack alone cannot protect your gear.
Method 4: Waterproof Wax or Paste Treatment
Wax-based treatments are ideal for canvas, waxed cotton, and heavy-duty fabric backpacks. Products like Otter Wax, Fabsil Gold, and Nikwax Cotton Proof penetrate deeply into the fabric weave and create a long-lasting water-repellent barrier that is significantly more durable than aerosol sprays on natural fibres.
How to Apply Wax Treatment
Step 1: Clean the backpack with a mild soap and warm water. Remove all surface dirt. Allow to dry completely. Wax will not adhere properly to dirty or damp fabric.
Step 2: Rub the wax bar directly onto the fabric in a circular motion, applying firm pressure. Cover the entire surface evenly. For paste or liquid wax products, apply with a cloth or brush in thin, even coats.
Step 3: After applying, use a hair dryer or heat gun on low to melt the wax into the fabric. This helps it penetrate the weave rather than sitting on the surface. Work in sections to ensure thorough penetration.
Step 4: Allow the backpack to cure for at least 48 hours in a warm, dry location. The wax will continue to settle into the fabric during this period.
Important: Wax treatments permanently darken most fabrics. If your backpack is a light colour and you want to maintain that appearance, wax treatments are not suitable. They work best on darker canvas or heritage-style bags where the patina of waxed fabric is part of the aesthetic appeal.
Wax vs. Spray: Key Differences
| Factor | Wax Treatment | DWR Spray |
|---|---|---|
| Duration | 3-6 months of regular use | 20-30 days of regular use |
| Best for | Canvas, waxed cotton, heavy fabrics | Nylon, polyester, technical fabrics |
| Appearance change | Significant darkening, patina | Minimal visible change |
| Breathability | Reduced | Maintained |
| Application time | 1-2 hours plus 48 hours drying | 15 minutes plus 2-6 hours drying |
| Cost per application | 15-25 | 10-15 |
Method 5: Professional Re-Coating Service
For high-value backpacks from premium brands, professional re-coating offers the most durable and complete waterproofing restoration. Services from companies like Rain Gear Repairs, YKK zipper replacement specialists, and even some brand-authorized service centres can restore your backpack to near-factory waterproof condition.
What Professional Re-Coating Involves
A professional service typically strips the existing degraded coating from the interior of the pack, repairs or replaces damaged seam tape, treats the exterior with industrial-grade DWR application, tests the pack for leaks using controlled water pressure, and applies a fresh polyurethane or TPU coating. The result is significantly more durable than any DIY method because professional facilities have access to industrial coating equipment that applies a more uniform and bonded layer.
When Professional Service Makes Financial Sense
Professional re-coating costs typically between 50 and 120 depending on pack size and required repairs. It makes financial sense when: the backpack originally cost 200 or more, the pack is from a brand with strong warranty support, the structure and hardware are still in excellent condition, or the pack has sentimental or irreplaceable value. For a budget 40 backpack, DIY methods or replacement are more economical choices.
Comparing All 5 Methods at a Glance
| Method | Effectiveness | Duration | Cost | Difficulty | Best For |
|---|---|---|---|---|---|
| DWR Spray | Moderate | 20-30 days | 10-15 | Easy | Quick refresh, all fabric types |
| Seam Sealing | High (seams only) | Full season | 8-15 | Medium | Leaking seams, any pack |
| Pack Liner | Very High (contents) | Months to years | 5-35 | Very Easy | Content protection, ultralight |
| Wax Treatment | High | 3-6 months | 15-25 | Medium | Canvas and heavy fabrics |
| Professional Re-Coat | Very High | 1-2 years | 50-120 | None (outsourced) | Premium or expensive packs |
Step-by-Step Waterproofing Strategy by Backpack Type
Nylon/Polyester Hiking Packs (Osprey, Deuter, Gregory)
Combine DWR spray treatment on the exterior with seam sealer on any visible leaking seams. If the pack includes a built-in rain cover, ensure it is in good condition and use it in heavy rain. Reapply DWR monthly during wet seasons. This combination keeps your technical pack performing at its rated level without adding significant weight.
Canvas and Heritage Packs (Fjallraven, Filson, Barbour)
Wax treatment is the ideal approach for these packs. Use Otter Wax for Fjallraven-style packs and Fabsil Gold for heavier canvas bags. The wax replenishes the factory treatment and maintains the character of the material. Re-wax every 3 to 6 months depending on use frequency and exposure to rain.
Commuter and Tech Packs (Aer, Bellroy, Peak Design)
Use a DWR spray treatment combined with a waterproof pack liner for your electronics. Many commuter packs have a DWR treatment that degrades after 6 to 12 months of daily use. A quick refresh with Nikwax TX.Direct restores the water beading effect. Add a dedicated laptop sleeve waterproof case for extra insurance in heavy rain.
Tactical and Military-Style Packs (5.11, Maxpedition)
These packs often use heavy nylon with polyurethane coatings. When the coating degrades, seam sealer combined with a pack liner provides the most reliable protection. DWR spray on the exterior helps maintain surface repellency. Consider replacing any standard zippers with YKK AquaGuard equivalents if you use the pack frequently in wet conditions.
Common Waterproofing Mistakes to Avoid
Applying DWR to a dirty pack: Dirt and oils block the treatment from bonding to the fabric. Always clean first with a technical cleaner, never regular detergent that leaves water-attracting residues.
Using silicone spray on Gore-Tex: Standard silicone sprays can clog the pores in waterproof-breathable membranes like Gore-Tex and eVent, destroying their breathability. Only use treatments recommended by the membrane manufacturer.
Ignoring the zippers: Waterproofing the fabric while neglecting the zippers is like waterproofing a roof but leaving the skylight open. Clean zipper teeth regularly and lubricate with silicone-based lubricant. Replace damaged zippers with waterproof alternatives.
Over-applying wax: More wax does not mean more waterproofing. Thick wax layers sit on the surface, crack, and flake off. Apply thin, even coats and let each cure before adding more.
Skipping the cure time: Every waterproofing treatment needs time to bond and cure. Using the pack before the treatment is fully set reduces effectiveness dramatically. Follow the manufacturer's recommended cure time without exception.
Testing Your Waterproofing Results
After waterproofing your backpack, test the results before relying on it in critical conditions. The simplest test is the shower test: hang the loaded backpack and spray it with a shower head for 10 minutes. Check the interior for any moisture penetration. For a more rigorous test, fill the bathtub with 10 centimetres of water, place weighted items inside the pack, and submerge the bottom half for 15 minutes.
Need a Backpack That Comes Factory Waterproof?
If DIY waterproofing is not your style, explore our guide to the best waterproof backpacks that ship with superior water protection built in from day one.
Compare Waterproof OptionsFrequently Asked Questions
Can you make any backpack waterproof?
You can significantly improve the water resistance of virtually any backpack using DWR sprays, seam sealers, and waterproof liners. However, achieving true waterproofing (submersion-level protection) on a non-waterproof backpack is extremely difficult because the fabric construction, zipper type, and seam design were never intended for it. For activities requiring full waterproof protection like kayaking, investing in a purpose-built waterproof backpack from brands like Ortlieb or SealLine delivers far better results than DIY methods.
How often should you re-waterproof a backpack?
DWR spray treatments typically last 20 to 30 days of regular use before needing reapplication. Seam sealers can last an entire season if applied correctly. Interior waterproof coatings generally maintain effectiveness for 1 to 2 years of normal use. A good rule of thumb is to reapply DWR spray monthly during wet seasons, inspect and re-seal seams before each season, and refresh the interior coating annually. Always clean the backpack thoroughly before applying any waterproofing treatment.
What is the best waterproofing spray for backpacks?
The best waterproofing spray depends on your backpack material. For nylon and polyester packs, Nikwax TX.Direct and Grangers XT Waterproofer are consistently top-rated by outdoor gear reviewers. For canvas packs, Otter Wax Fabric Wax provides excellent natural water repellency. For technical fabrics like Gore-Tex or eVent, use manufacturer-recommended treatments like Nikwax Tech Wash followed by TX.Direct spray-on or wash-in formulations. Avoid generic silicone sprays as they can damage technical membranes.
Does waterproofing spray work on canvas backpacks?
Yes, but the results differ from synthetic fabrics. Canvas backpacks absorb waterproofing treatments differently than nylon or polyester. Wax-based treatments like Otter Wax or Fabsil Gold perform better on canvas than aerosol sprays because they penetrate the weave more thoroughly and create a longer-lasting barrier. Multiple thin coats are better than one heavy application. Allow each coat to dry fully (24 to 48 hours) before applying the next. Properly waxed canvas can achieve excellent water resistance suitable for most weather conditions.
Will seam sealer make stitched backpack seams fully waterproof?
Seam sealer dramatically improves the water resistance of stitched seams by filling the needle holes and coating the thread that runs through the fabric. High-quality seam sealers like Gear Aid Seam Grip or McNett SilNet create a flexible, waterproof barrier that effectively stops water penetration through stitched seams. However, the overall waterproofness also depends on the fabric itself. If the fabric only has a DWR coating with no waterproof membrane, sealing the seams will help but will not make the entire pack waterproof.
Can I use a trash bag liner instead of waterproofing my backpack?
A trash bag or compactor bag liner is an effective and popular waterproofing strategy used by many experienced hikers and backpackers. It protects the contents of your bag from water entering through the fabric or seams. The limitation is that it only protects items inside the main compartment and does not waterproof external pockets, laptop sleeves, or the backpack exterior. For maximum protection, combine a pack liner with a rain cover for dual-layer defence. Many ultralight hikers prefer this approach because it weighs almost nothing and costs pennies compared to specialised waterproof packs.
Is waterproofing spray better than a rain cover?
They serve different purposes and work best when combined. Waterproofing spray treats the fabric itself to repel water at the fibre level, maintaining the backpack's original look and feel. A rain cover provides a physical barrier that protects the entire pack including zippers and pockets that spray cannot reach. Spray-on treatments are better for maintaining the DWR on technical fabrics and are always active. Rain covers are better for complete storm protection but can blow off in high winds and must be manually deployed. For the best waterproof backpack protection, use both methods together.