How to Distribute Weight in a Backpack: Complete Guide
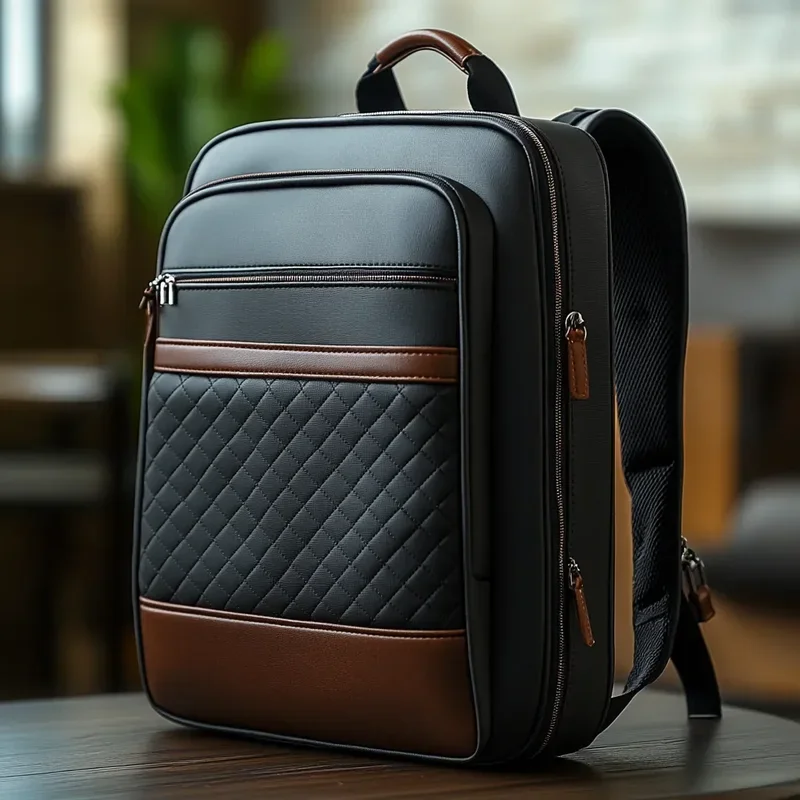
Weight distribution is the single most important factor in backpack comfort, yet it is the least understood aspect of packing. You can have the most expensive, ergonomically designed backpack on the market, and it will still feel uncomfortable if the weight inside is distributed poorly. Conversely, a modestly priced pack with well-distributed weight will often feel more comfortable than a premium bag loaded incorrectly. The difference comes down to physics: how the load interacts with your body's centre of gravity, how forces are transferred through the pack's suspension system, and where pressure points develop on your shoulders, back, and hips.
This complete guide covers the advanced science of weight distribution in backpacks, including centre of gravity principles, load lifter mechanics, hip belt transfer ratios, and zone-based distribution strategies for hiking, commuting, and travel. We also cover the most common distribution mistakes and their physical consequences, so you can identify and correct problems before they lead to pain or injury. Whether you carry a 10-litre commuter daypack or a 65-litre expedition pack, the principles in this guide will help you carry more comfortably and efficiently.
Centre of Gravity Principles
Your body has a natural centre of gravity that sits roughly at the level of your navel, slightly forward of your spine. When standing upright with arms at your sides, this is the point around which your body balances. When you add a backpack, you are shifting the combined centre of gravity of your body and the load. If the combined centre of gravity moves too far from your body's natural centre, your muscles must work harder to maintain balance, leading to fatigue and strain.
The goal of weight distribution is to keep the combined centre of gravity as close as possible to your body's natural centre. In practice, this means placing heavy items in the backpack at the height of your hip belt and as close to your back as possible. This positioning keeps the load centred over your hips, which are designed to bear weight through the skeletal structure of your pelvis and legs. When heavy items are placed too high, too low, or too far from your back, the combined centre of gravity shifts, and your muscles must compensate continuously to maintain an upright posture.
Load Lifters: The Unsung Heroes
Load lifter straps are the small adjustable straps that connect the top of the shoulder straps to the top of the pack frame. They are one of the most misunderstood and underused features on modern backpacks. When properly adjusted, load lifters pull the top of the pack toward your body, transferring some of the load from your shoulders to the frame and ultimately to your hip belt. The ideal angle for load lifter straps is between 45 and 60 degrees from horizontal. If the angle is too steep (close to 90 degrees), the load lifters are not engaging effectively. If the angle is too shallow (close to 0 degrees), they pull the pack forward and create pressure on the front of your shoulders.
To adjust load lifters correctly, put on the pack and tighten the hip belt first. Then adjust the shoulder straps to a comfortable snugness. Finally, pull the load lifter straps until they are snug but not pulling the pack off your shoulders. You should feel the weight transfer slightly from your shoulders to your hip belt. If done correctly, you will notice an immediate reduction in shoulder pressure and an improvement in how the pack tracks with your body's movements during walking.
Hip Belt Transfer Ratios
The hip belt is the primary load-bearing component of any backpack designed for loads over 7 kg. A properly fitted and adjusted hip belt transfers 60 to 80 percent of the pack's weight from your shoulders to your hips and legs. The exact transfer ratio depends on the pack design, the hip belt width and padding, and how well the belt fits your body.
The hip belt should sit on your iliac crest, the bony ridge at the top of your pelvis. It should be snug enough to transfer load without sliding, but not so tight that it restricts breathing or causes discomfort. The padding should be wide enough to distribute pressure across a large area of your hips, reducing pressure points. Premium hip belts feature moulded foam that conforms to your body shape and pivoting attachments that allow the belt to move independently of the pack frame as you walk, reducing chafing and hot spots.
Zone-Based Weight Distribution by Activity
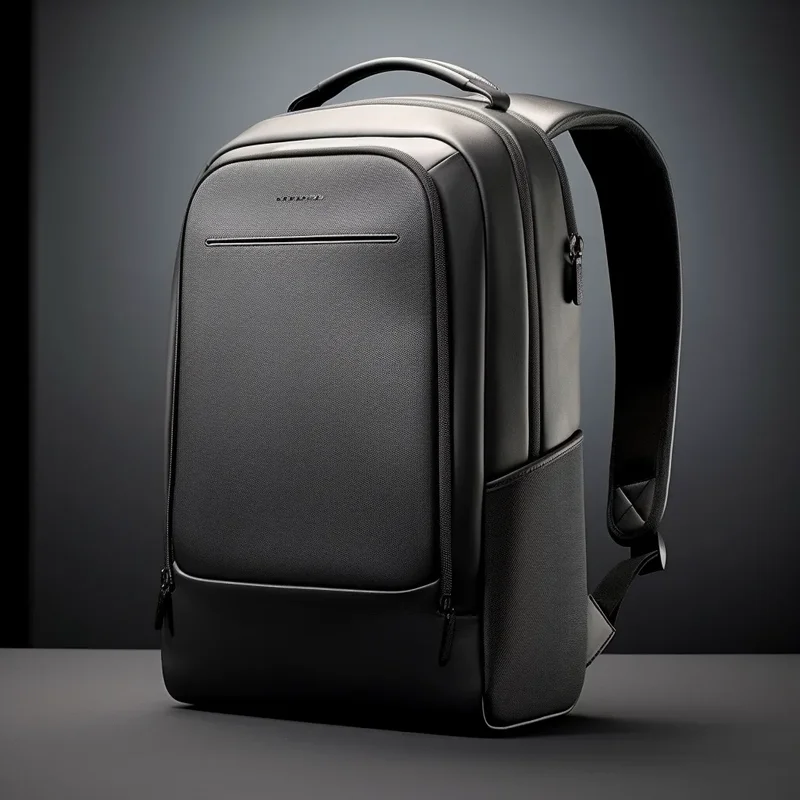
The optimal weight distribution varies by activity type because different activities place different demands on your body. What works for a day hike may not be ideal for a long commute or a multi-day travel journey.
Hiking Weight Distribution
For hiking, the optimal distribution places 60 to 70 percent of the weight at mid-back height against the frame, 20 percent above the mid-line for items like food and rain gear, and 10 to 20 percent at the bottom for lightweight items like a sleeping bag. The heaviest items should be directly against the back panel or frame, no more than 10 to 15 centimetres from your spine. This creates a load that feels integrated with your body rather than pulling away from it. Water bottles and items needed on the move go in side pockets and hip belt pockets, adding minimal weight to the main pack structure.
Commuting Weight Distribution
For commuting, the distribution is simpler because loads are lighter and the carry time is shorter. The laptop goes in the laptop sleeve against the back panel. Lunch, files, and clothing go in the main compartment in front of the laptop. Side pockets hold a water bottle and umbrella. The key principle remains the same: heavy items close to the back and centred vertically. Because commuter loads are typically under 8 kg, the hip belt transfer is less critical, but the back-panel proximity of heavy items is still essential for shoulder comfort during walking and cycling.
Travel Weight Distribution
For travel with a fully loaded pack of 10 to 15 kg, the hiking distribution principles apply, with the added consideration of access frequency. Pack heavier items against the back at mid-height, but also consider that you may need to open your bag in public spaces like airports and train stations. A clamshell-opening travel pack allows you to organise heavier items in the half closest to the back panel and lighter items in the outer half, so when you open the bag, the lighter outer half faces up and does not spill out. This access-oriented distribution is unique to travel packs and does not apply to top-loading hiking bags.
Common Weight Distribution Mistakes and Corrections
| Mistake | Consequence | Correction |
|---|---|---|
| Heavy items at the bottom | Pulls centre of gravity below hip belt, causes backward lean and lower back strain | Move heavy items to mid-back height against the frame |
| Heavy items far from back | Increases moment arm, multiplies effective weight on shoulders | Move heavy items into laptop sleeve or against back panel |
| Overloaded top lid | Raises centre of gravity, causes top-heavy feeling on descents | Move top lid items into main compartment or side pockets |
| Uneven side loading | Creates lateral imbalance, causes hip belt to ride up on one side | Balance weight equally in both side pockets |
| Loose hip belt | Shoulders bear excessive weight, leading to fatigue and neck strain | Tighten hip belt so it sits snugly on iliac crest |
| Loose shoulder straps | Pack shifts and bounces, creating friction and hot spots | Snug shoulder straps with load lifters at 45 to 60 degrees |
| No load lifters engaged | Pack pulls away from body, reducing stability and increasing effort | Adjust load lifters to create 45 to 60 degree angle |
| Overstuffing one zone | Creates pressure points and distorts pack shape | Distribute items more evenly across zones |
The Weight Distribution Zone Chart
The weight distribution zone chart below provides a visual reference for how weight should be allocated across your backpack's zones for different activities. The percentages represent the proportion of total pack weight that should be in each zone for optimal comfort and performance.
| Zone | Hiking (%) | Commuting (%) | Travel (%) | Key Principle |
|---|---|---|---|---|
| Core middle (against back) | 60 to 70 | 50 to 60 | 55 to 65 | Heaviest items, close to spine |
| Upper middle | 15 to 20 | 25 to 35 | 15 to 20 | Medium items, periodic access |
| Bottom | 10 to 15 | 10 to 15 | 10 to 15 | Lightest items, destination access |
| Side pockets | 3 to 5 | 5 to 10 | 3 to 5 | Light, one-hand accessible |
| Top lid | 3 to 5 | 0 to 5 | 3 to 5 | Small, urgent access items |
Body-Type Adjustments for Weight Distribution
Body type significantly affects optimal weight distribution. People with longer torsos have a higher natural centre of gravity and may need to place heavy items slightly higher in the pack to maintain alignment. People with shorter torsos benefit from slightly lower heavy item placement. People with broader shoulders can tolerate more shoulder load and may prefer a slightly higher centre of gravity for better mobility on technical terrain. People with narrower hips need wider hip belt padding to distribute pressure effectively, and the hip belt becomes even more critical for comfort.
The best way to find your optimal distribution is through experimentation. Pack your bag with your usual items, then walk for 20 to 30 minutes and note where you feel pressure or fatigue. Adjust item positions incrementally and repeat until you find the configuration that feels best. Most people discover their optimal distribution within three to five packing sessions, and once found, it becomes a repeatable system that works consistently across different trips and loads.
Key Takeaway
Effective weight distribution keeps heavy items close to your spine at mid-back height, balanced left to right, with lighter items at the bottom and extremities. Adjust load lifters to 45 to 60 degrees, tighten the hip belt on your iliac crest, and balance side pockets equally. These adjustments transform any backpack from a burden into a barely noticeable companion.
Advanced Weight Distribution Techniques
Beyond the fundamentals, several advanced techniques can further improve your weight distribution for specific scenarios and challenging conditions.
The Suspended Load System
Some premium backpacks feature a suspended load system where the internal frame is separate from the pack bag, connected by elastic cords or springs. This system allows the load to remain at a constant height while your body moves up and down during walking, reducing the vertical acceleration forces that contribute to fatigue. Suspended load systems are most beneficial for loads over 15 kg and are found on packs designed for long-distance trekking and expedition use. The technology reduces the energy cost of carrying heavy loads by up to 15 percent according to manufacturer testing, though independent studies show more modest improvements of 5 to 8 percent.
Counterbalance Packing
For packs with significant external attachment points, counterbalance packing involves distributing external items symmetrically to maintain lateral balance. If you attach a tent to the left side, attach an equivalent weight to the right side. This is particularly important for technical terrain where lateral balance affects your stability on uneven ground. Counterbalance packing also applies to the vertical plane: items attached to the top of the pack should be balanced by equivalent items at the bottom to prevent the pack from tipping backward or forward when set on the ground.
Dynamic Load Adjustment
On long hikes, your body fatigues progressively, and the distribution that felt perfect at the trailhead may feel wrong three hours in. Dynamic load adjustment involves periodically redistributing items within the pack to shift the load slightly and give fatigued muscle groups a brief rest. Move heavier items slightly higher when climbing uphill to lean into the load. Move them slightly lower when descending to improve stability. Shift items between side pockets if one shoulder or hip feels more fatigued than the other. These micro-adjustments take less than a minute and can extend your comfortable carrying time by an hour or more on a long day.
Weight Distribution and Pack Design Features
Modern backpack designs incorporate several features specifically engineered to improve weight distribution. Understanding these features helps you choose a pack that matches your load-carrying needs and use them effectively.
Internal Frame vs External Frame
Internal frame packs keep the load close to your body, which is ideal for technical terrain where agility and balance are important. The frame transfers load through a combination of the hip belt and the padded back panel. External frame packs hold the load further from your body but provide superior ventilation and often better load transfer for heavy loads on established trails. The choice between internal and external frames significantly affects how weight is distributed and which distribution strategy works best.
Frameless Packs and Weight Distribution
Frameless ultralight packs require the most careful weight distribution because they lack structural elements to compensate for poor packing. In a frameless pack, you must create your own structure by using a sleeping pad as a pseudo-frame against the back panel and keeping heavy items tightly packed against this improvised frame. The margin for error is much smaller in frameless packs: a poorly distributed load that would be merely uncomfortable in a framed pack can become genuinely painful in a frameless one.
Testing Your Weight Distribution
The best way to evaluate your weight distribution is to pack your bag, put it on, and perform a series of movement tests. Stand still and note where you feel the majority of the weight. It should be on your hips, not your shoulders. Walk normally and observe whether the pack shifts or bounces. Minimal movement indicates good stabilisation through compression straps and proper strap adjustment. Walk uphill and downhill to test whether the load stays centred or shifts in ways that create strain. Lean forward and backward to test whether the pack's centre of gravity is properly aligned with your body. Each test reveals aspects of your distribution that static standing cannot, and together they provide a comprehensive assessment of how well your pack carries in real-world conditions.
Seasonal Considerations for Weight Distribution
Winter packs are heavier due to additional layers, and the distribution principles become more critical as total load increases. In winter, the heavy items (insulated water bottle, thermos, extra food) should be packed firmly against the back panel, and the hip belt becomes even more important because total pack weight may exceed 15 kg. Summer packs are lighter but may have more items in outer pockets due to the need for constant hydration access. Ensure that the added weight of full water bottles in side pockets does not create lateral imbalance, and adjust compression straps to account for the different load profile of a summer pack versus a winter one.
Frequently Asked Questions
How should weight be distributed in a backpack?
Weight should be distributed with heavy items close to your spine at mid-back height (60 to 70 percent of total weight), medium items above and below the core zone (15 to 20 percent each), and light items at the bottom and in side pockets (10 to 15 percent each). This keeps the combined centre of gravity aligned with your body.
Why does my backpack hurt my shoulders?
Shoulder pain is usually caused by poor weight distribution or an improperly fitted hip belt. If heavy items are packed far from your back or too high, the moment arm increases and your shoulders bear more load. Ensure heavy items are against the back panel and that your hip belt transfers 60 to 80 percent of the load.
What are load lifter straps and how do I use them?
Load lifter straps connect the top of the shoulder straps to the pack frame. Adjust them to a 45 to 60 degree angle after tightening your hip belt and shoulder straps. They pull the pack closer to your body, transferring some weight from shoulders to the frame and hip belt for improved comfort and stability.
How tight should my hip belt be?
Your hip belt should sit snugly on your iliac crest (the bony ridge at the top of your pelvis) without restricting breathing. It should be tight enough to transfer load without sliding but loose enough to be comfortable when standing still. You should feel most of the pack's weight on your hips, not your shoulders.
Does weight distribution matter for a light commuter backpack?
Yes, even with light loads under 8 kg, proper weight distribution matters for comfort. Keep your laptop against the back panel and centred vertically. This prevents the pack from pulling backward and reduces shoulder strain, especially during cycling or walking commutes of 20 minutes or more.
How do I fix a top-heavy backpack?
Move heavy items from the top lid into the main compartment at mid-back height. If items are already in the main compartment but the pack feels top-heavy, they are likely positioned too high. Move them downward to align with your hip belt. Also check that the hip belt is properly tightened to transfer load effectively.
What is the ideal position for a laptop in a backpack?
The laptop should go in the dedicated laptop sleeve against the back panel, positioned at approximately mid-back height. This keeps the heaviest item close to your spine for optimal weight distribution and protects the laptop with the bag's built-in padding.
How do I balance weight on both sides of my backpack?
Ensure equal weight in both side pockets and symmetric distribution in the main compartment. If you carry a water bottle in one side pocket, add an equal weight to the other side or keep the lighter side empty. Lateral imbalance causes the hip belt to ride up on one side, creating discomfort and uneven muscle strain.
Explore More Packing & Organisation Guides
Continue building your packing expertise with our related guides:
Backpack Packing Order | How to Organise Your Backpack | Backpack Compartment Names | 15 Backpack Organisation Hacks | Minimalist Backpack Packing