Load Lifter Straps Explained: Anchor Height, Angle, Tension and Specs
Load lifter straps are the short webbing runs that climb from the top of each shoulder strap up to the pack body. Set correctly they rotate the top 30-40 per cent of the load towards the shoulders so it stops penduluming away from the spine, and users typically report the pack feeling 1-2 kg lighter at 12 kg carried. Set wrongly, overtightened or specified on a frameless pack, they do nothing except crease the fabric and pull at the neck.
This piece deals with the geometry rather than the marketing: where the anchor point has to sit above the shoulder line, what the much-quoted 45-degree rule really means, how little tension is actually needed, and which constructions respond at all. It also covers what goes into a production spec, written for UK buyers developing ranges through QUANZHOU JUNYUAN BAGS, established in 2014, whose team coordinates production across 7 production lines.
What Load Lifters Actually Do to the Load
A load lifter is not a lifting device and it does not move weight from your shoulders to your hips. Its single function is to shorten the distance between the load's centre of mass and your spine. Each centimetre the top of the pack is pulled inwards reduces the lever arm acting on the lower back, and by around 10 cm of correction the difference becomes obvious on a long climb or a fast walk to catch a train. Every centimetre of that lever costs measurable lower-back effort on a sustained climb.
That is why the strap only works with a hip belt already doing its job. With the belt centred on the iliac crest and carrying 60-70 per cent of the mass, tightening the lifters rotates the upper part of the load towards shoulder height. Tighten them without a hip belt and the whole pack simply slides up your back, transferring everything back onto the shoulder tops and making the carry worse rather than better. In practice the correction is worth more than any change in strap padding or back panel foam.
- Lifters change pack angle, not total load
- They require a hip belt carrying the majority of the weight first
- Typical correction: 5-10 cm of centre-of-mass movement towards the spine
- Overtightening pulls the pack off the hips and puts weight back on shoulders
Anchor Height and Inboard Offset: The Geometry
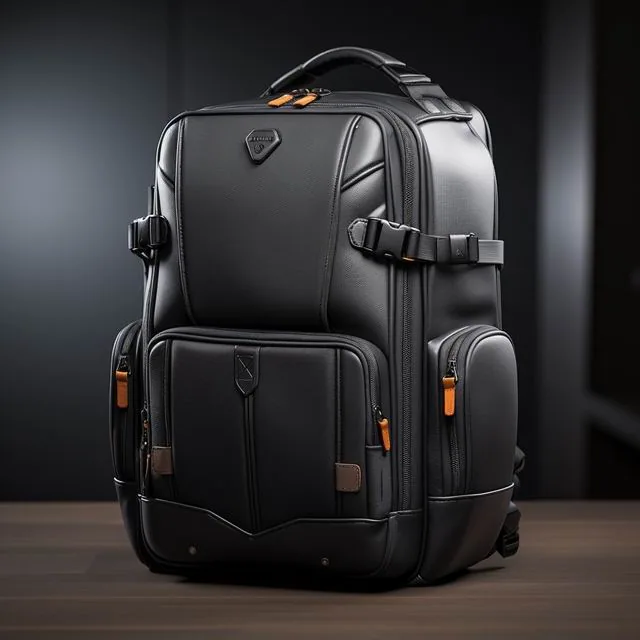
Two dimensions decide whether a lifter can do anything. The anchor point on the pack body should sit above the line of the shoulders, which in practice means 6-10 cm above where the shoulder strap meets the back panel. The second dimension is the inboard offset: the anchor should be 3-5 cm closer to the centreline than the webbing's exit point on the shoulder strap, giving the strap something to pull against rather than running parallel to it. Both figures should be checked with the pack loaded, because a full panel sets several millimetres lower than an empty one.
Anchors set below shoulder height are the common budget failure. The webbing still exists and the product photography still shows it, but the angle is so shallow that pulling it merely compresses the shoulder strap instead of rotating the pack. Anchors set too far outboard, more than 6 cm from the centreline, tend to pull the pack sideways and away from the back, which shows up as the load swaying on steps and stairs. Look at where the webbing enters the panel relative to the top of your own shoulder to judge it quickly.
| Pack size and load | Anchor above strap root | Inboard offset | Expected effect |
|---|---|---|---|
| 18-22 L, up to 6 kg | 5-6 cm | 3 cm | Marginal, mostly stabilises sway |
| 25-35 L, 8-12 kg | 7-9 cm | 4 cm | Clear improvement in balance |
| 40-55 L, 13-18 kg | 9-12 cm | 4-5 cm | Essential for grade and off-camber ground |
The 45-Degree Rule and Where It Breaks Down
Fitting advice usually says the lifter webbing should meet the shoulder strap at about 45 degrees. That figure is a reasonable target on a pack with a conventional flat back panel and a medium torso, because a 45-degree line gives roughly equal parts vertical lift and horizontal pull. Check it with a photograph taken from the side with the pack loaded, or simply look in a shop mirror: anything under 25 degrees will not rotate the load, and anything over 65 degrees pulls sharply at the top of the shoulder.
The rule breaks down in three predictable cases. Tall men with long torsos often end up with a steeper line because their shoulders sit higher relative to the anchor, so a shallower anchor or a longer adjuster helps. Very broad shoulders push the webbing exit points further apart, flattening the angle. Finally, top-loading packs with a tall collar tend to sit further off the back, and no amount of lifter tension compensates for that geometry. Accept a compromise of five degrees rather than chasing a perfect figure, since few shoulders are symmetrical.
How Much Tension, and the Hand-Gap Test
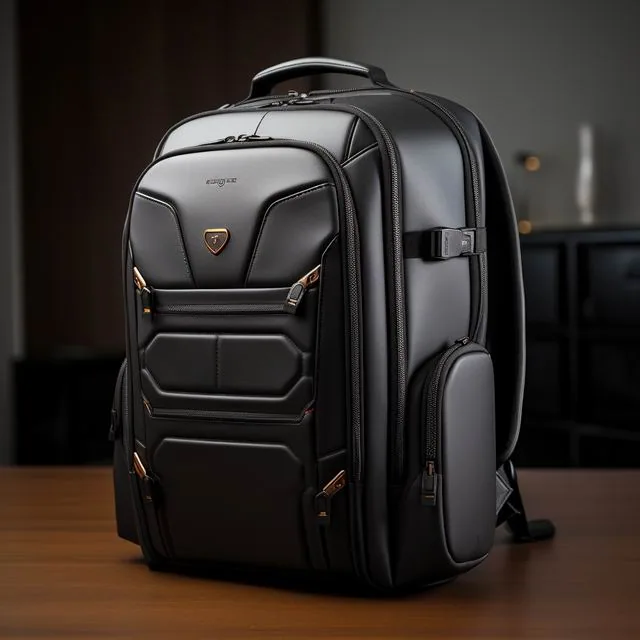
Tighten load lifters only until the top edge of the shoulder strap makes light contact with the shoulder, then stop. A useful check is to slide a flat hand between the strap top and the shoulder: if it goes through with no resistance, add one notch; if the hand needs pushing, release one. Most wearers overtighten by two or three notches, which is enough to pull the shoulder padding off the body and shift several kilograms back from the hips to the shoulders. Roughly two thirds of first-time wearers overtighten a framed harness.
The second test is dynamic. Walk 50 metres on a slight gradient with the hip belt set and see whether the load stays quiet over the hips. If it still swings, add tension rather than checking out; if it feels like the pack is being hoisted upwards and the hip belt pressure drops, back off immediately. Re-check after the first kilometre, because harness foam and the webbing adjuster both settle by a few millimetres in the first ten minutes of walking. Repeat the check when swapping a shirt for a winter jacket, which pushes contact points outwards.
Frameless Packs, Frames and When Lifters Do Nothing
Load lifters need something rigid to transmit force into. On a frameless daypack with nothing but fabric and maybe a thin foam pad, pulling the lifter just gathers the panel into creases: the strap takes the path of least resistance and deforms the material instead of moving the load. The same is true of packs whose only stiffener is a removable sit mat, which folds under tension rather than acting as a lever. Low-cost daypacks are the usual offenders, where the component is fitted for photography rather than function. It is also the region most visible in returned-goods photographs.
A proper load path means a frame sheet or a stay. A 0.8-1.2 mm HDPE or polypropylene sheet gives enough stiffness for packs to about 35 litres, while twin aluminium stays of 4-6 mm width handle 40 litres and above. Below roughly 20 litres, or below 6 kg carried, lifters are largely decorative, and the same money is better spent on a hip belt with real padding and on internal compression straps that pull the load towards the back. Frame stiffness, not strap count, decides whether a harness can be adjusted at all.
The Adjustment Sequence That Actually Works
Order matters more than most people expect. Setting the shoulder straps before the hip belt means the whole harness ends up 2-3 cm too high, and no amount of lifter fiddling recovers it afterwards. Start with every strap slack, put the pack on with its intended load inside rather than empty, and work from the bottom of the harness upwards. The sequence below takes about 90 seconds and holds for most of the day. Rushing this step explains why many packs never feel right however much they are fiddled with afterwards.
- Loosen shoulder straps, lifters, sternum slider and compression straps fully
- Load the pack to its real working weight, not the weight you plan to carry
- Clip the hip belt and centre its padding over the iliac crest, then tighten until it grips
- Pull the shoulder straps down until they touch the shoulders without pinching
- Set the load lifters until the strap tops make light contact with the shoulder
- Finish with the sternum slider and any side compression straps
Doing it in this order keeps the hip belt where it belongs throughout, which is why the lifters end up doing so little work: most of the correction has already happened. If you find yourself re-tightening lifters every 20 minutes, suspect the hip belt has slipped rather than the lifters stretching. Webbing adjusters do creep a few millimetres over a day, but wholesale loosening points at the belt. Another cause is a hip belt that has slipped below the crest, which changes the load path within minutes. Keep straps even side to side, or the harness will pull visibly off centre.
Working Out Whether a Range Needs Lifters At All
For product developers the decision is economic as much as ergonomic. A lifter assembly adds roughly 18-26 grams, four bar-tacks, two webbing tails and one pair of adjusters, plus panel reinforcement at each anchor. On a city backpack retailing under £60 that cost is hard to justify, and many customers will never load it heavily enough to notice. On anything sold as a hill, travel or expedition pack the component pays for itself in fit reviews alone. The reinforcement at each anchor often costs more than the webbing and adjusters together.
A useful threshold is intended sustained load. Below 6 kg, skip them. Between 6 and 10 kg they are optional but improve reviews if the frame supports them. Above 10 kg, or where the product claims any multi-day or technical use, they are effectively mandatory, and their absence will be noticed by reviewers who carry luggage with a hip belt. Where lifters are omitted, spend the component budget on a better frame sheet first. Ask too whether the target customer will ever touch the hardware: many urban users never adjust anything.
| Product position | Typical load | Lifter decision | Better place to spend |
|---|---|---|---|
| City commuter, 18-22 L | 4-6 kg | Omit | Padded hip belt webbing |
| Daypack or travel, 25-35 L | 8-12 kg | Include | Frame sheet plus lifters |
| Hill and multi-day, 40-55 L | 13-18 kg | Include, reinforced | Aluminium stays plus lifters |
Hardware, Webbing and Stitch Specifications
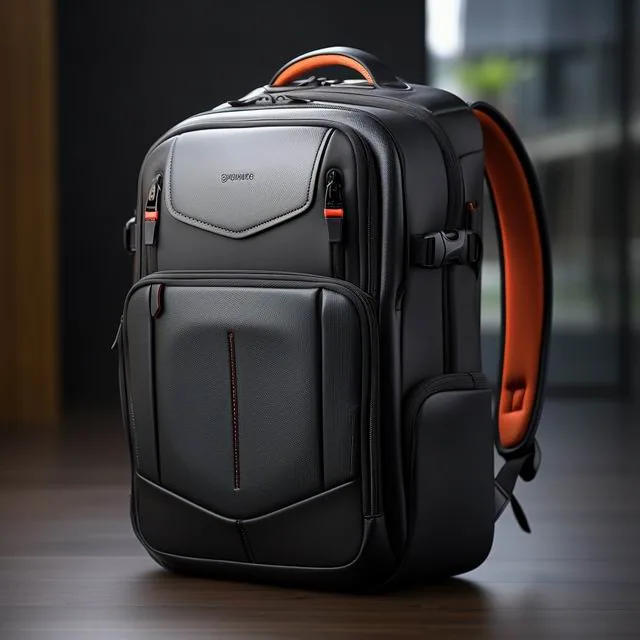
Lifter webbing is narrower than most buyers expect: 12-15 mm suits packs up to 10 kg and 15-20 mm suits heavier framed builds. Anything wider cannot be threaded through the small ladder adjusters used here and tends to twist at the exit point. The second choice is how the webbing is finished at the pack end: a folded-back tail of 25-30 mm, bar-tacked through both layers, spreads the load far better than a straight cut end stitched flat against the panel. Sealed edges count here, since a cold-cut tail frays visibly within weeks at this position.
The anchor itself is the failure point worth specifying tightly. Require a reinforcing patch of at least two fabric layers, ideally a bonded 600D piece behind the outer shell, and a box stitch no smaller than 20 x 25 mm with 10 to 12 stitches per 25 mm. Webbing should be tested for grab strength to ASTM D5034, and the exit area should hold up against abrasion to ISO 12947, since that zone rubs against clothing thousands of times a season. Both tests are cheap to run and they screen out most commodity webbing before it reaches bulk.
Writing Lifters Into a Production Programme
In a tech pack, lifters should be dimensioned rather than described. State webbing width in millimetres, adjuster type, folded tail length, anchor coordinates measured from the strap root and the centreline, reinforcing patch material and dimensions, stitch density, and whether the anchor is captured before or after the panel closes. That last detail decides whether the anchor can be repaired later, and it changes how the production team sequences the build. Record coordinates against a fixed datum, such as the top edge of the back panel, so revisions stay comparable. Work of this kind is coordinated across a 4,950 m² SGS-verified production floor space staffed by 137 colleagues, running 7 production lines since 2014.
Programme terms stay fixed across every harness development. Minimum quantity is 500 pcs per style and colourway, so an anchor revision cannot be run as a ten-piece experiment. Prototypes land in 6-10 working days, extending to 12-15 where the panel is bonded or moulded, and bulk production occupies 35-50 days. Inspection runs to AQL 2.5 under ISO 2859-1, shipment is FOB Xiamen, and settlement is T/T 30/70, with quality control documented to the same management system used since 2014. Prototype counts beyond five units should be agreed early, since each one consumes line time.
Sample Checks and Inspection Criteria
At gold seal stage, ask for side-on photographs of the sample on a fit form with a protractor card or angle reference against the lifter line, and for a loaded shot showing the same pack at 10 kg. Insist on a written measurement of the anchor coordinates so that a later cost-down does not quietly move the anchor down the panel. A static pull of 250 N for 10 seconds at each anchor, with no stitch movement, is a sensible acceptance test. Repeat the same measurement on the second and third samples, because drift usually appears from round two onwards.
Defect libraries for lifters tend to be thin, so write them explicitly: twisted webbing at the exit, bar-tacks missing the folded tail, adjusters that slip under 60 N of pull, and anchors where the reinforcing patch misses the panel seam allowance. Each should be classed as major or minor before sampling begins, so AQL 2.5 decisions are mechanical rather than negotiated. Include a 50-cycle tighten-and-release test to catch adjuster slip before it reaches the shop floor. A short clip of the cycle test is more useful than a written pass result.
Frequently Asked Questions
What do load lifter straps actually do on a backpack?
They shorten the horizontal distance between the pack's centre of mass and your spine by rotating the top of the load inwards, typically by 5-10 cm. They do not move weight off the shoulders by themselves: that requires a hip belt carrying 60-70 per cent first. Tightened without a belt, lifters simply drag the pack up your back and put the load back on the shoulder tops.
Where should the load lifter anchor sit?
Above the line of your shoulders, roughly 6-10 cm above the point where the shoulder strap meets the back panel, and 3-5 cm closer to the centreline than the webbing exit. Below shoulder height the angle is too shallow to rotate anything, and pulling the webbing only gathers the panel into creases instead of moving the load towards you. Anchors placed lower than this simply compress the shoulder strap instead.
What angle should load lifter straps be set at?
Around 45 degrees between the lifter webbing and the shoulder strap is the target, with anything between 30 and 60 degrees workable. Under 25 degrees will not rotate the load and over 65 degrees pulls hard at the top of the shoulder. Check it with a side-on photograph with the pack loaded to its real weight, since the angle changes noticeably once the pack is full.
How tight should load lifters be?
Tighten until the top edge of the shoulder strap makes light contact with the shoulder, then stop. Use the hand-gap test: a flat hand should slide between strap top and shoulder with slight resistance. Overtightening by two or three notches lifts the pack off the hips, moves several kilograms back onto the shoulders and typically shows up as neck ache after about 30 minutes.
Why do my load lifters not make any difference?
The usual cause is a frameless pack. With no frame sheet or stays, tension is absorbed by the fabric creasing rather than transmitted into the load. Check whether your pack has at least a 0.8 mm HDPE sheet or alloy stays. The second cause is adjusting the shoulder straps before the hip belt, which leaves the harness 2-3 cm too high for the lifters to act.
What is the correct order for adjusting a backpack harness?
Slacken everything, load the pack to real weight, then work from the bottom up: hip belt centred on the iliac crest and tightened, shoulder straps pulled down until they touch, load lifters set to light contact, then the sternum slider and side compression straps. The whole sequence takes about 90 seconds and holds for most of the day without further fiddling.
Do small commuting backpacks need load lifters?
Usually not. Below about 20 litres, or under 6 kg carried, the webbing adds 18-26 grams, four bar-tacks and a pair of adjusters for almost no measurable benefit. Spend that budget on a frame sheet and a properly padded hip belt instead. Above 10 kg, or on any pack sold as a hill or multi-day product, lifters become genuinely useful and reviewers notice their absence.
What width of webbing is used for load lifters?
12-15 mm for loads up to 10 kg and 15-20 mm on larger framed packs. Wider webbing will not thread the small ladder adjusters used at this position and tends to twist where it exits the shoulder strap. Finish the pack end with a folded tail of 25-30 mm bar-tacked through both layers, which spreads the load better than a straight cut end stitched flat.
How much does it cost to add load lifters to a design?
The direct material impact is small: roughly 18-26 grams of webbing, two adjusters, two reinforcing patches and about four extra bar-tacks. The bigger cost is panel reinforcement and the additional operation time at assembly. On a pack retailing under £60 those pounds are usually better spent on the hip belt, while at £120 and above lifters are close to standard.
How do I test a load lifter anchor during sampling?
Require a static pull of 250 N held for 10 seconds at each anchor with no stitch movement, plus a 50-cycle tighten-and-release test to catch adjuster slip. Ask for measured anchor coordinates rather than photographs alone, so a later cost-down cannot move the anchor down the panel. Record bar-tack dimensions and stitch density on the gold seal sample report too.
Can worn-out load lifters be repaired?
Often yes, if the failure is at the adjuster rather than the panel. Replacing the ladder adjuster and re-cutting the tail takes a few minutes with a bar-tack machine. An anchor torn out of a seam-sandwiched panel is harder, because access usually requires opening the lining. This is why tech packs should state whether the anchor is captured before or after the panel closes.
Get the geometry right and the rest follows
Load lifters are one of the cheapest harness components and one of the most commonly mis-specified. Anchor height, inboard offset and stitch detail decide whether users feel any benefit at all, and none of those costs meaningful money at quotation stage.
QUANZHOU JUNYUAN BAGS works through these dimensions with UK buyers before sampling begins, at 500 pcs per style and colourway, with prototypes delivered in 6-10 working days and bulk shipping on FOB Xiamen, T/T 30/70 terms.
Email: service@junyuanbags.com
WhatsApp: +86 177 5002 0688